SOP — Canning Line CIP
FUERST WIACEK Version 1.5 | Packaging — canning line | Frequency: before every filling run + start/end of packaging week
Pre-Conditions
Warning
CIP Tank 2 up-concentration must be completed before running the canning line CIP. This does not have to happen immediately before — it can be done in the morning with the CIP starting later. But it must happen on the same day. The sanitisation recipe does not require up-concentration.
Refer to the CIP Up-Concentration SOP.
Purpose
Packaging is the most critical step in beer processing. A failed packaging run — whether from dirty lines, incorrect setup, or out-of-spec sanitation — can destroy a batch immediately or cause instability before the end of shelf life. Biofilms, if left to develop, can reach points in the line that are impossible to clean and may require full equipment replacement.
The canning line CIP uses CIP Tank 2 (caustic) and acid (IC 3002), dosed automatically via Botec. Sanitisation with PAA runs prior to each filling session.
Cleaning schedule:
- Start of packaging week: Full CIP + sanitisation before first use — mainly to ensure the piping is clean, as the line is typically clean from the previous week.
- Between filling runs: CIP the night before filling is acceptable, as long as sanitisation runs immediately before filling.
- End of packaging week: Full CIP without sanitisation — the line will not be used until the following week.
- Between daily runs: Foam down after each run — refer to the Canning Line Foam-Down SOP.
PPE Required
Warning
Do not handle chemical connections without safety goggles and chemical-resistant gloves.
Risks
| Hazard | Risk |
|---|---|
| Loose hose connections | Leaks, spray of hot liquid or chemical |
| Chemical exposure | Burns, eye damage / blinding |
| Incorrect panel or valve setup | CIP circuit fails to close — system cannot clean |
| Blank caps not fitted or fitted incorrectly | Caps fall off during cleaning and damage the machine |
| Wrong tank selected in Botec | CIP routed to wrong vessel |
Equipment
- Safety goggles and chemical-resistant gloves
- Key for tightening connections
- 1 × T-piece
- 2 × DN40 hoses (use a long hose for the product line; multiple hoses may be joined with a DN40 male/male adapter on the return line)
- 12 × blank caps for filling heads
- CIP Tank 2 up-concentrated and at temperature (see CIP Up-Concentration SOP)
For end-of-week CIP (no beer tank connected): - Swing bend to connect delivery and return lines directly on the cellar panel
Botec Recipe
The canning line CIP runs via the Botec system. CIP Tank 2 supplies caustic automatically. Acid is dosed inline and discarded.
Process
1. CIP Up-Concentration
Complete the up-concentration of CIP Tank 2 before starting. Refer to the CIP Up-Concentration SOP.
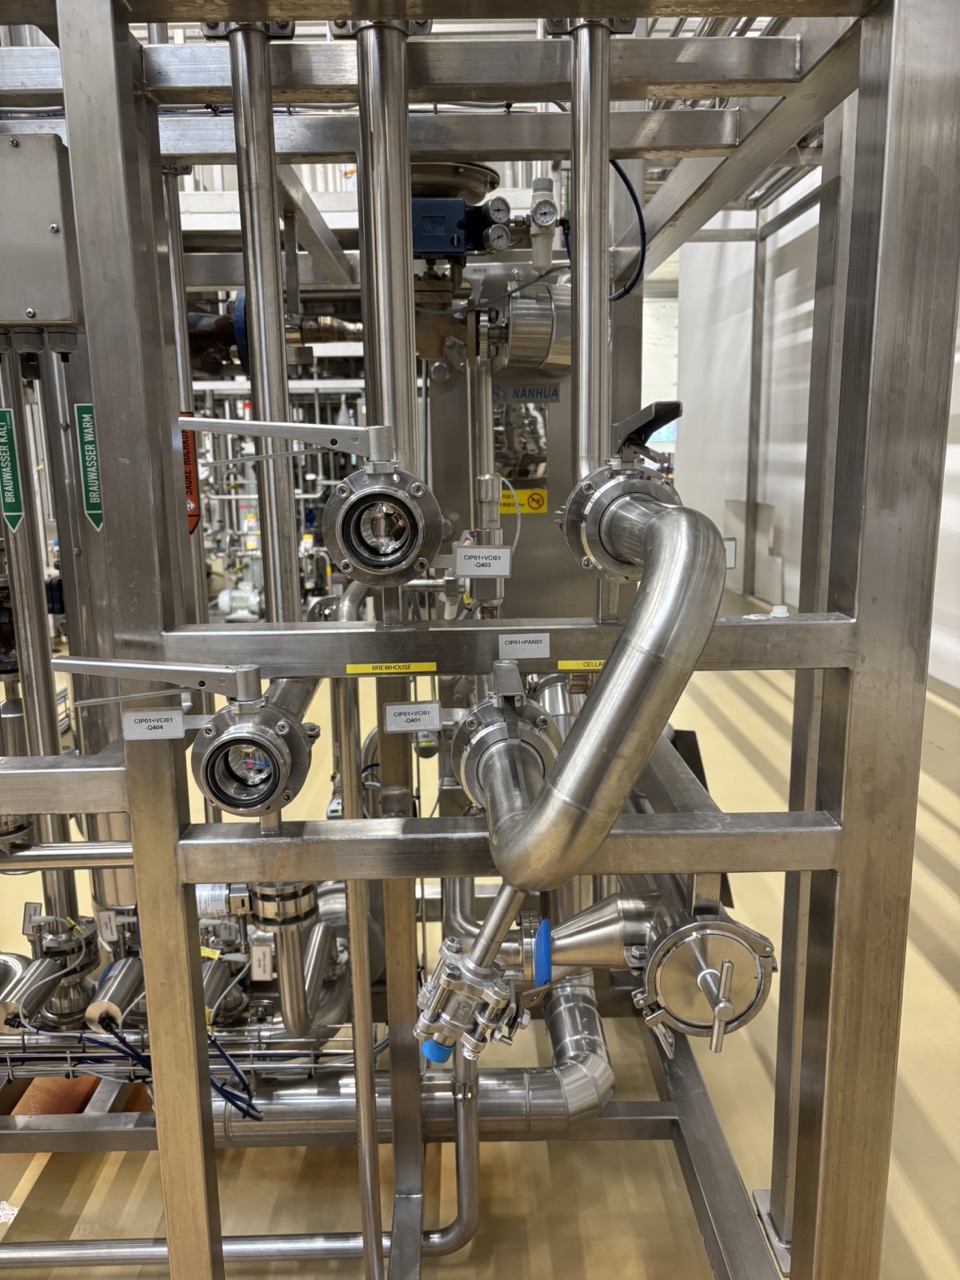
The CIP unit panel should be configured for cellar/filling as shown below.
2. Fit Blank Caps
- Fit all 12 blank caps to the filling heads.
- Turn the line in Manual mode and inspect each fitting visually to confirm the caps are correctly seated.
Warning
Do not launch the CIP without verifying all blank caps are correctly fitted. A cap that falls off during cleaning can cause serious damage to the machine.
3. Set Up Cellar Lines
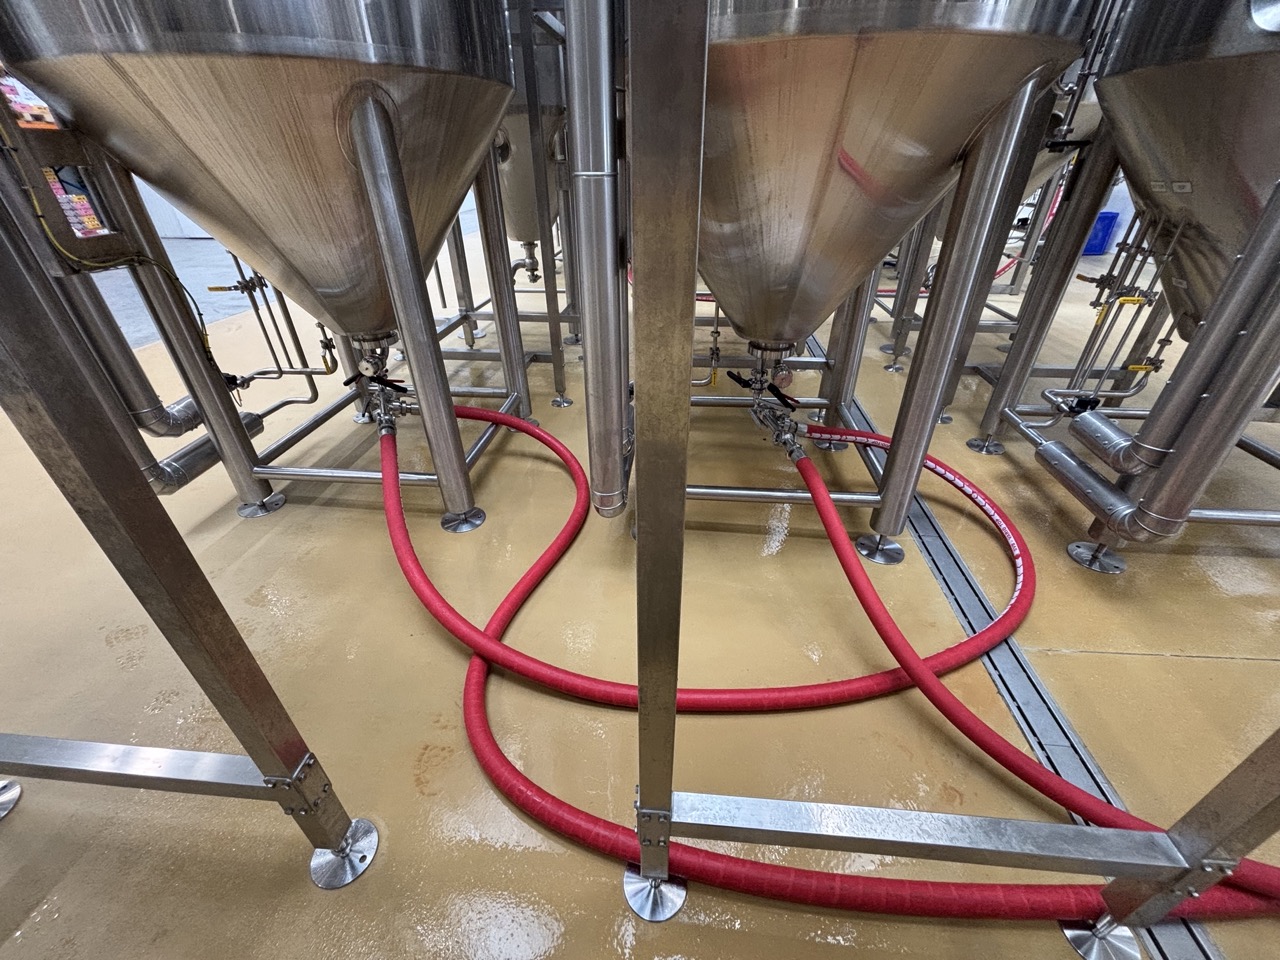
Multi-Tank Setup (standard packaging day)
When packaging multiple beers in one session, all tanks are connected and CIPed in a single run. This means no additional hose rebuilds or CO₂ purges when switching between beers — the line is already clean and ready for the next tank.
Key rule: the first beer to can is the last in the beer line but the first in the CIP path. CIP enters at the far end of the beer line and works back toward the canning machine. This ensures every metre of line between each tank and the canning head is cleaned in the correct sequence.
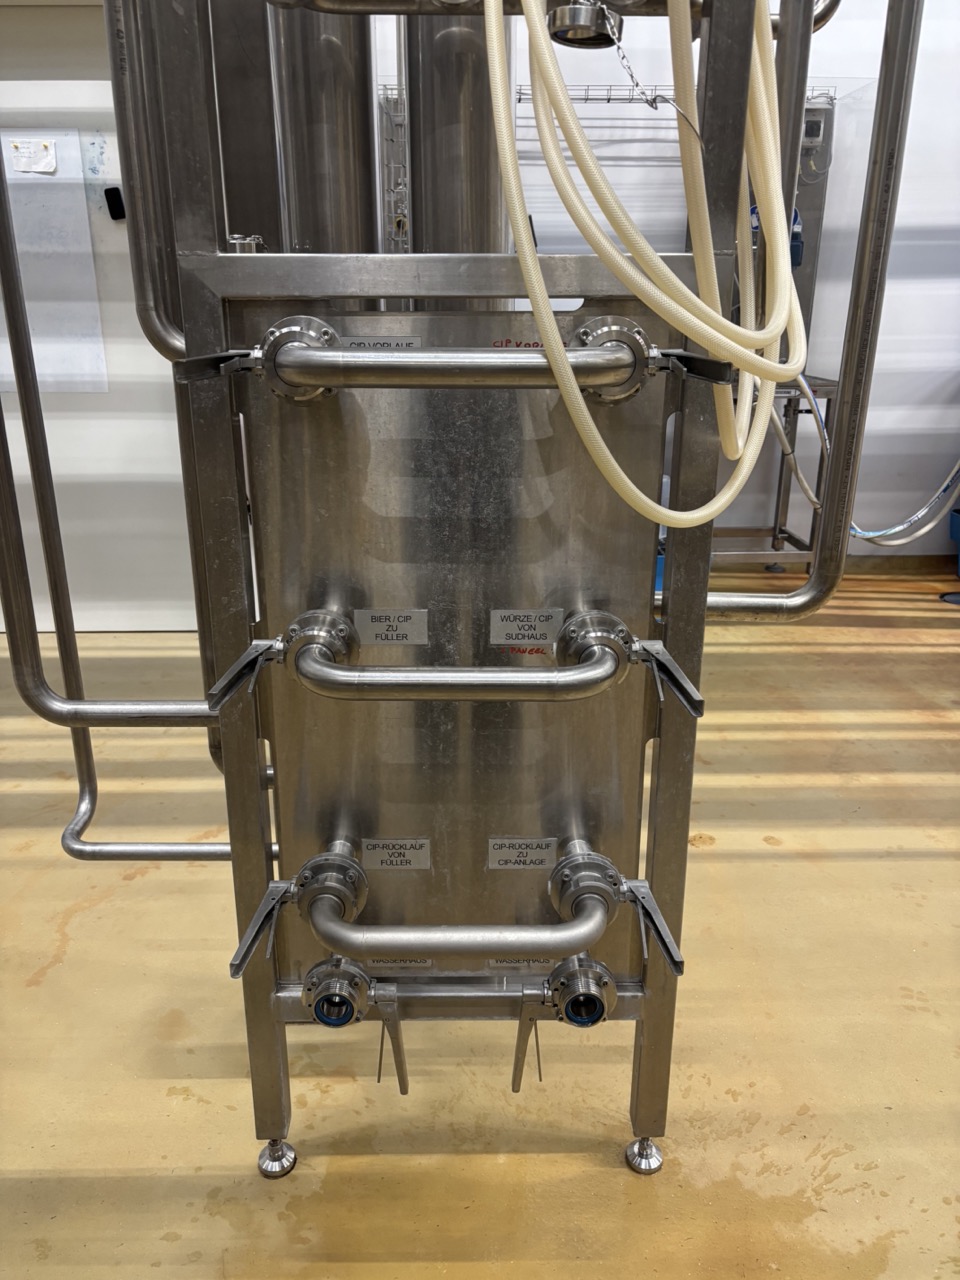
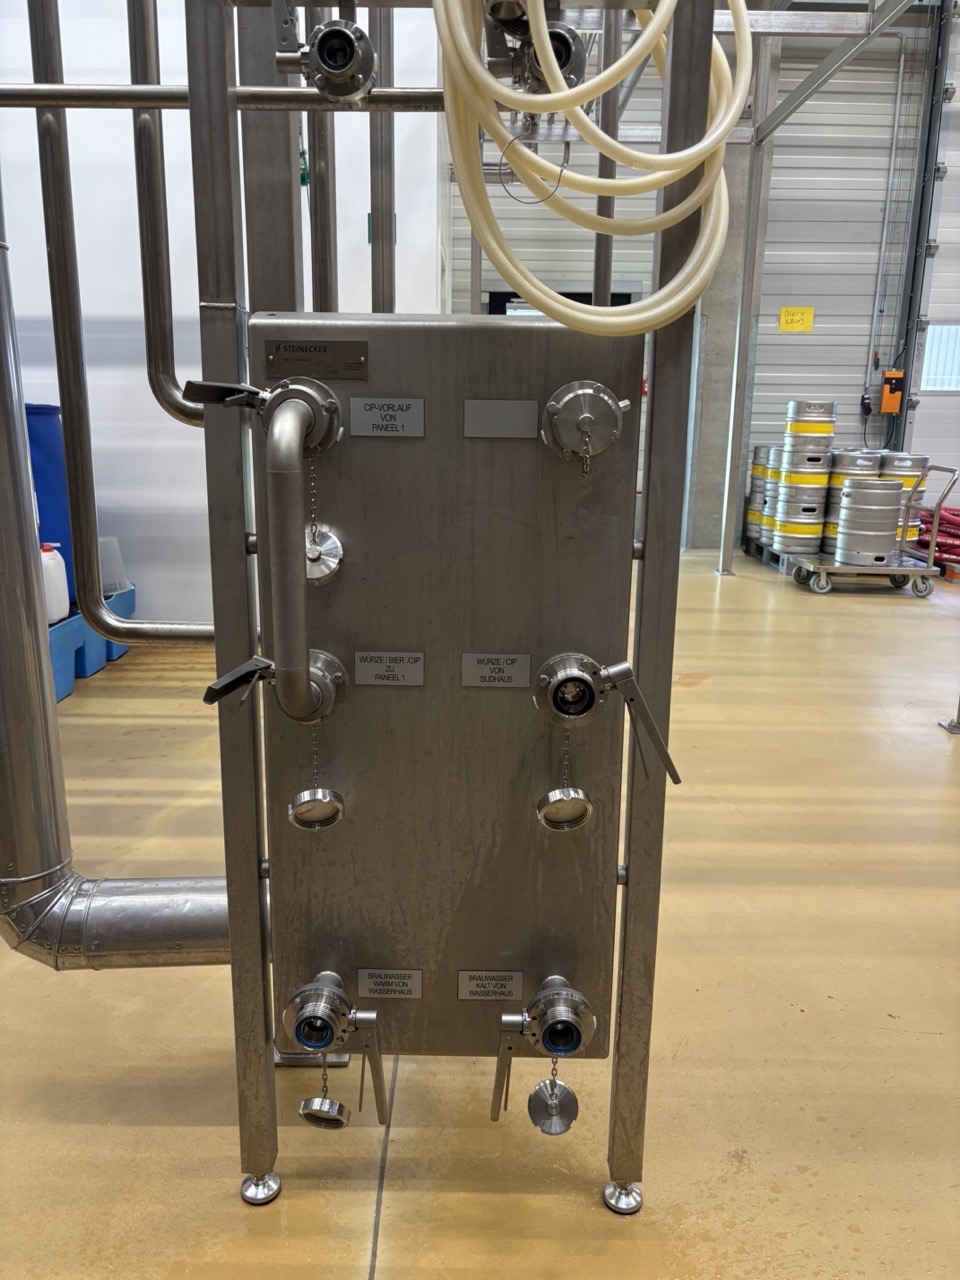
CIP circuit — Panel logic:
Panel 1 sends CIP to Panel 2. At Panel 2, the blue hose (CIP vorlauf) connects to the side inlet of the T-piece at the first tank. The front inlet of the T-piece carries the beer line — this hose returns to the panel and is routed onward.
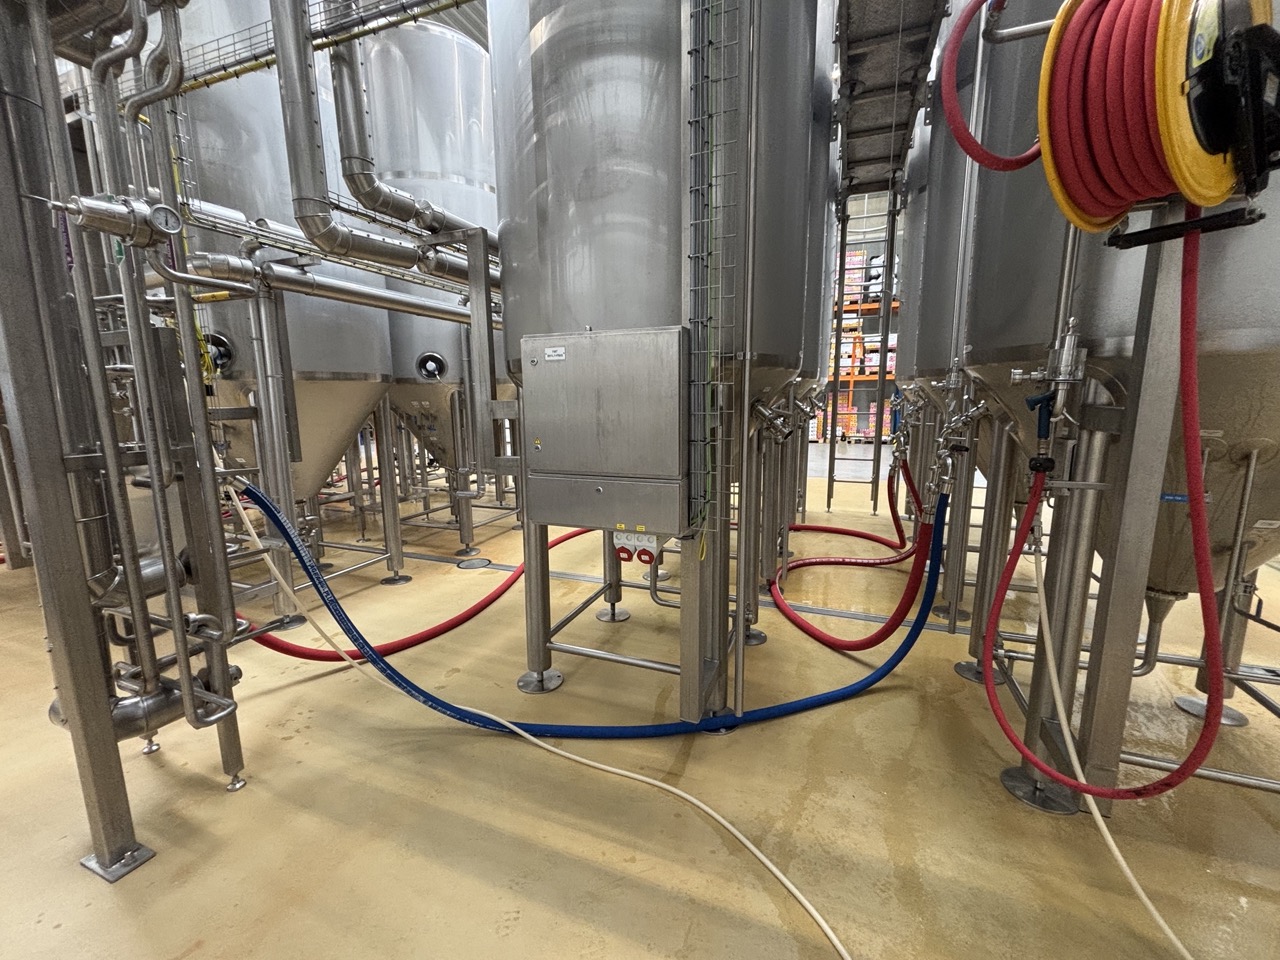
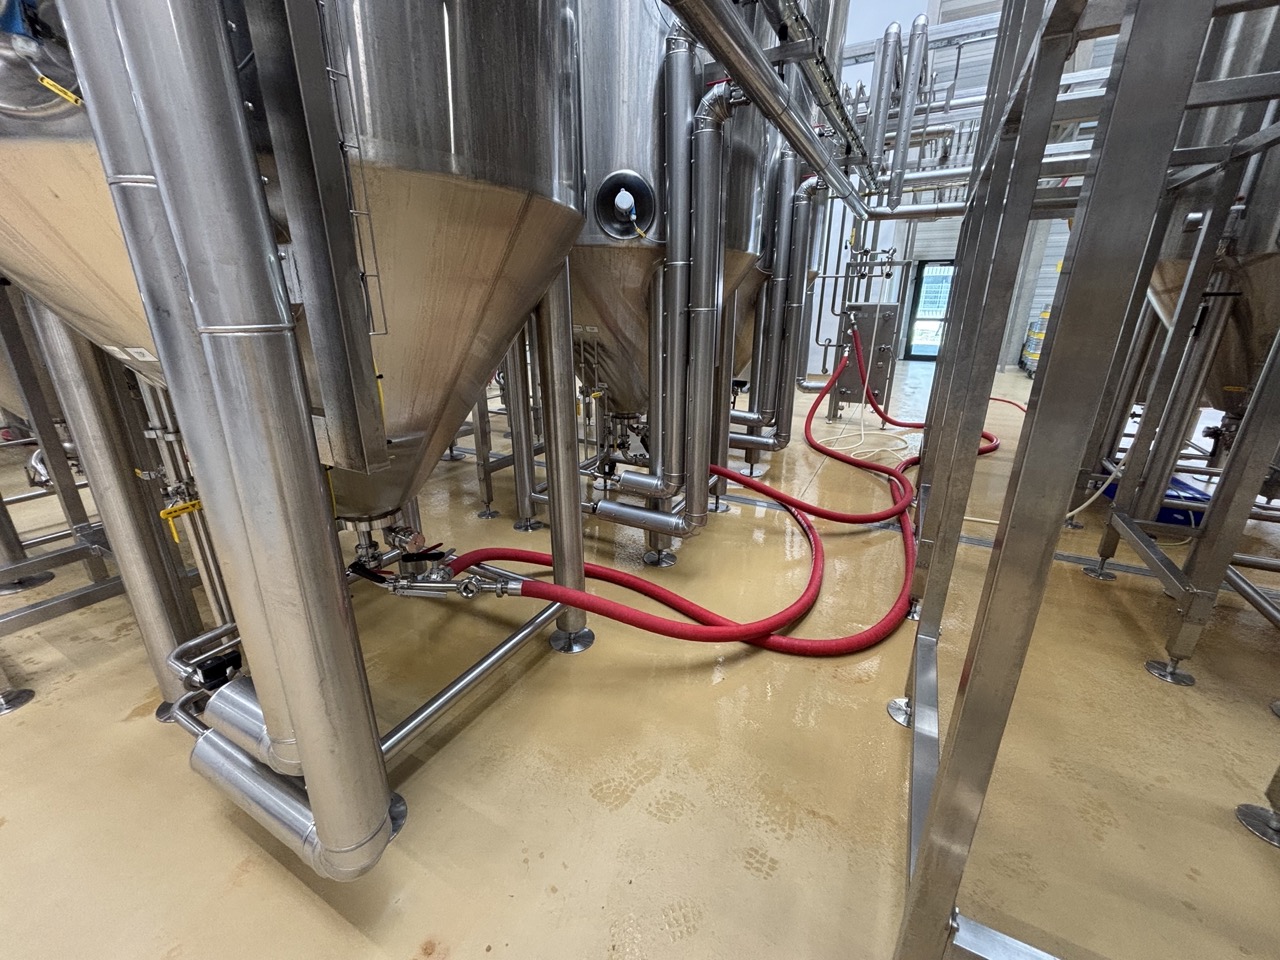
Chaining multiple tanks (farm tanks):
When tanks on the farm (tanks 1–11) are also in the run, they are chained in series between Panel 2 and Panel 1:
- CIP vorlauf from Panel 2 → side inlet of Tank 1 T-piece
- Front of Tank 1 → side inlet of Tank 2
- Front of Tank 2 → Panel 1 left side → canning line
In this example: Tank 17 is the first beer (first in CIP, last in beer line), Tank 1 is second, Tank 2 is last.
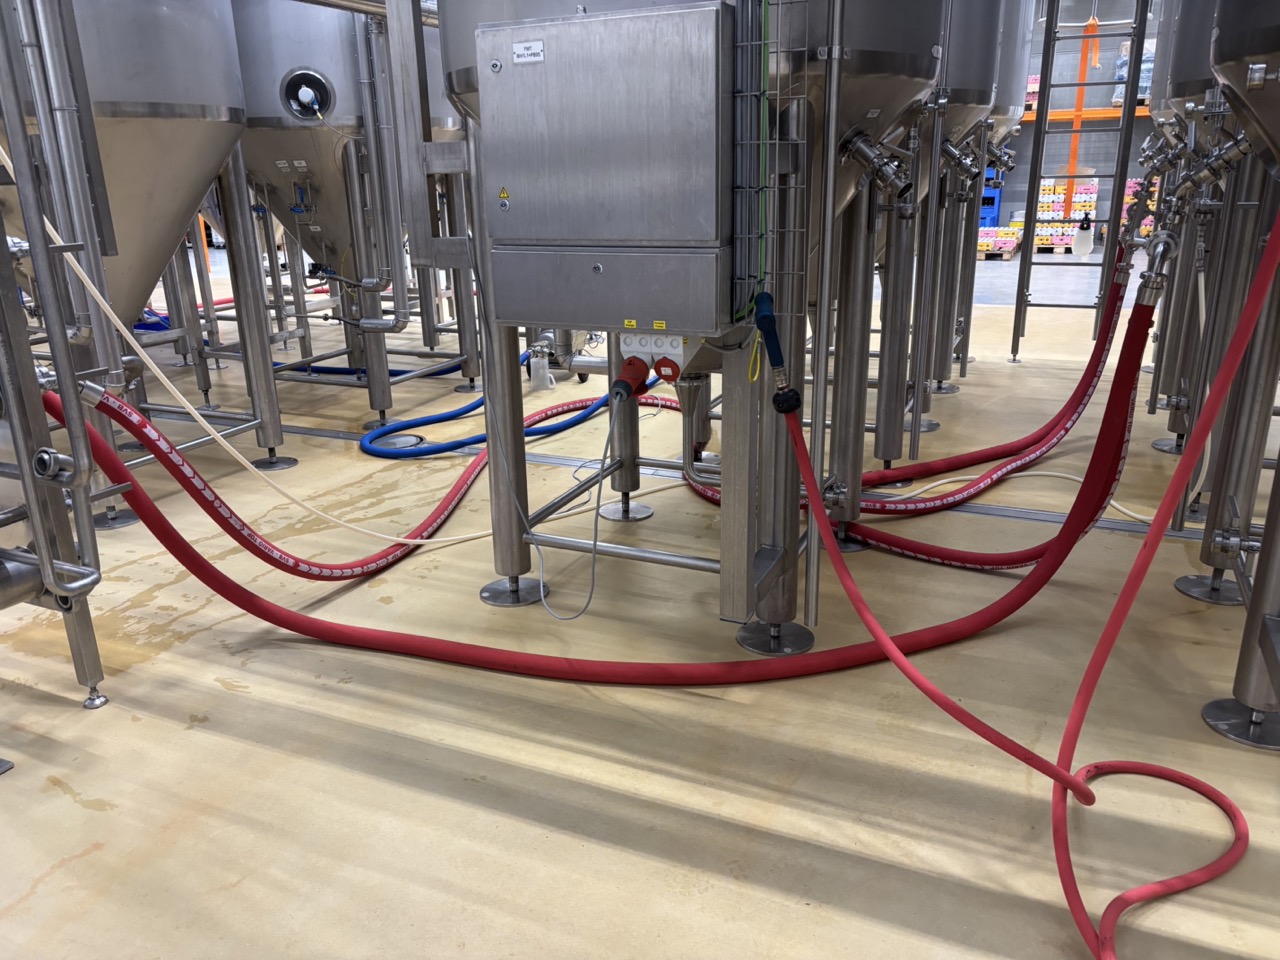
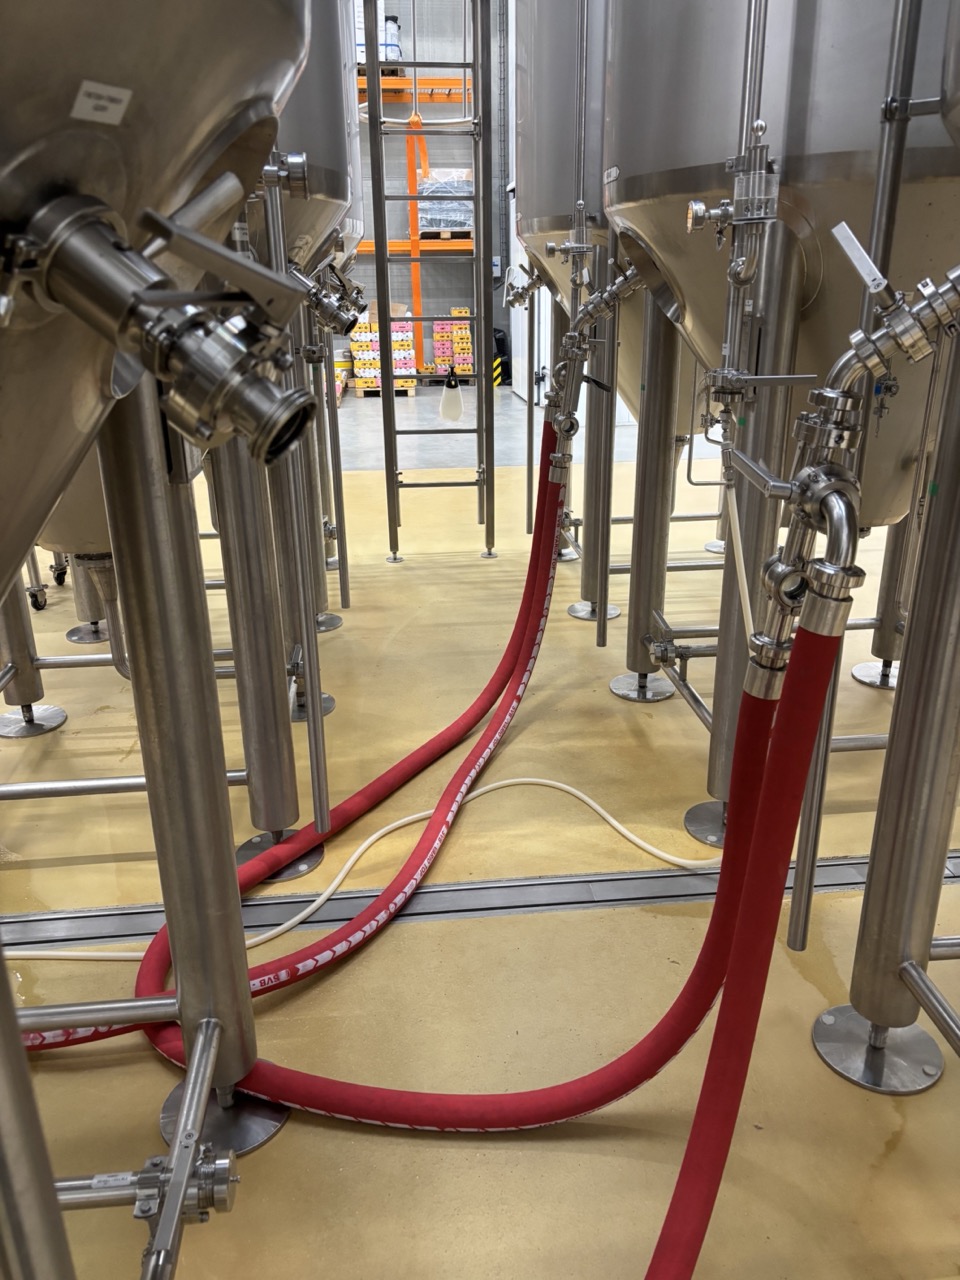
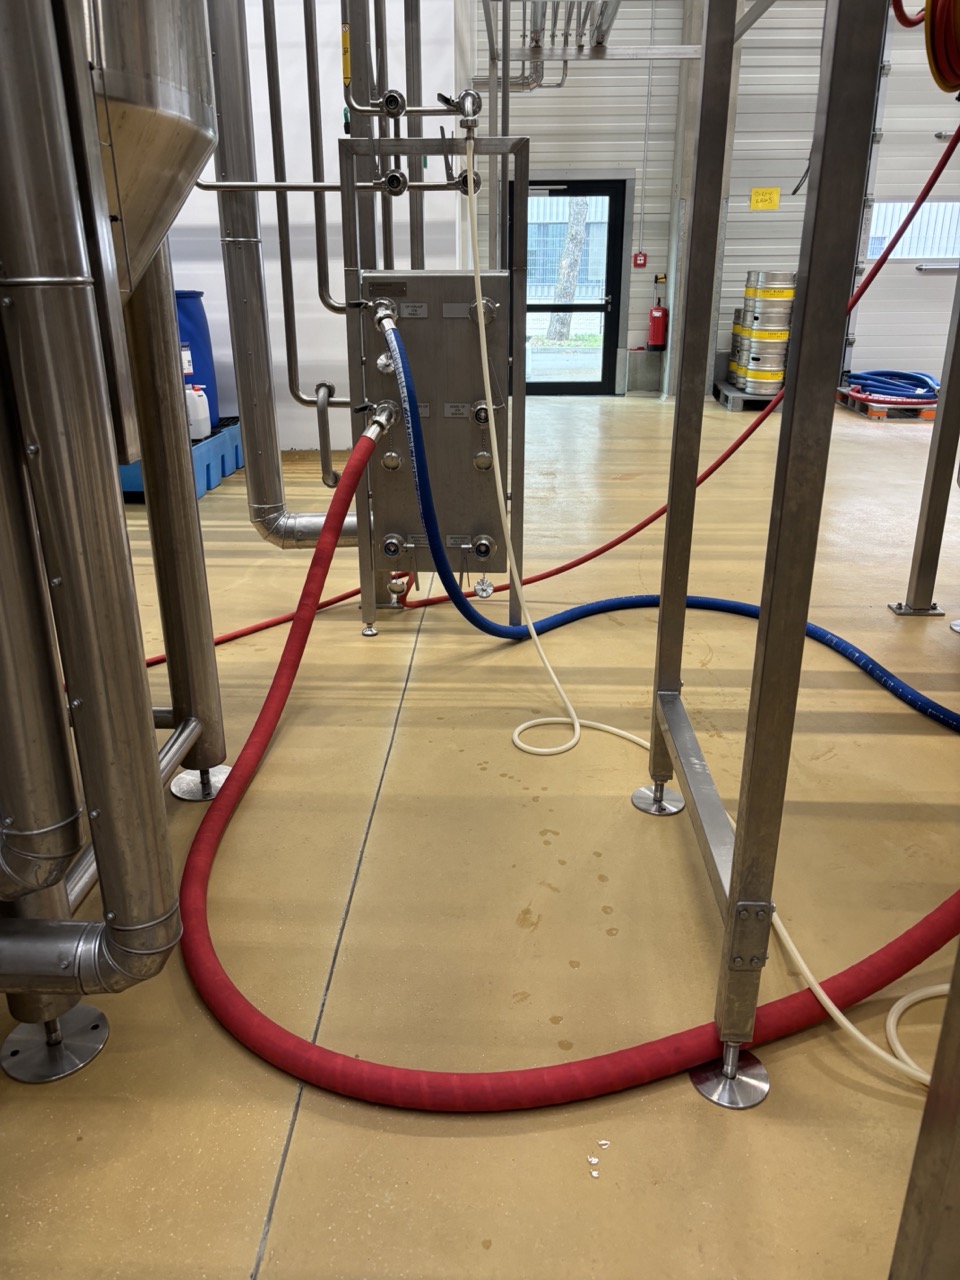
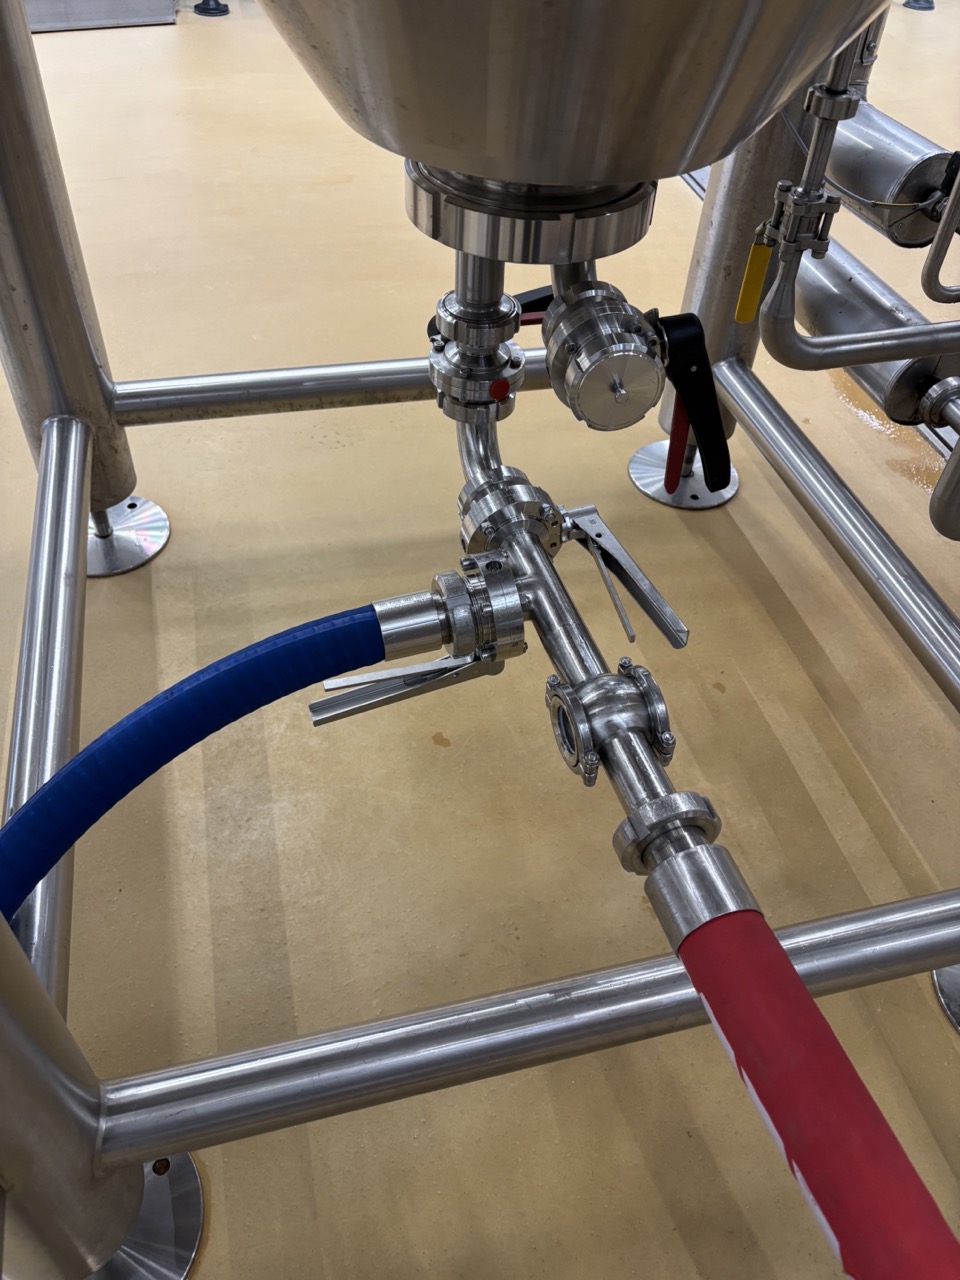
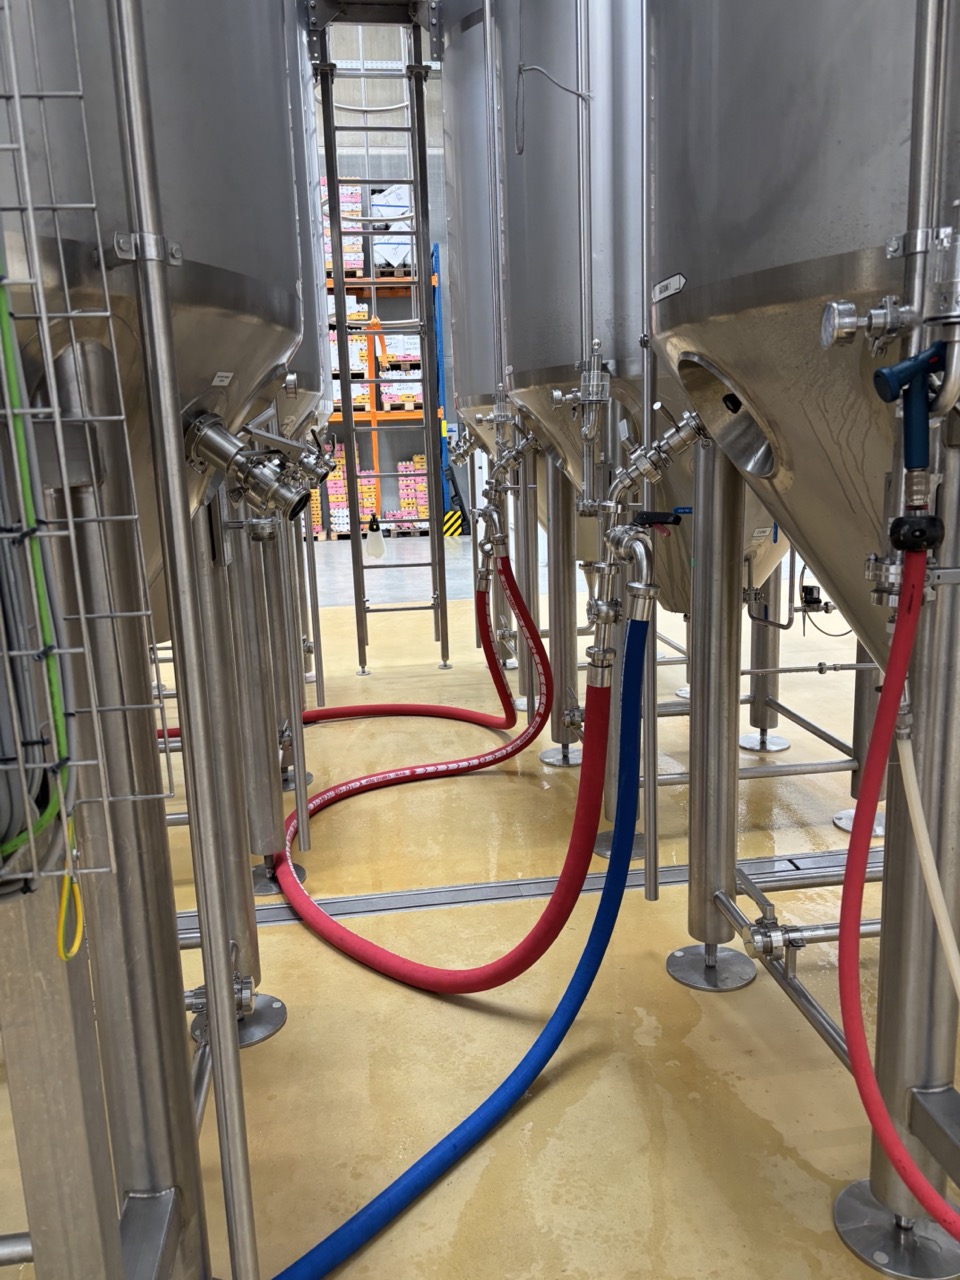
Connection steps:
- Connect a T-piece to the racking arm or standing pipe of each tank.
- Run the CIP vorlauf hose (blue) from Panel 2 to the side inlet of the first tank's T-piece.
- Run the beer line hose (red) from the front inlet of each T-piece to the side inlet of the next tank in sequence.
- Run the final return hose from the front inlet of the last tank to Panel 1 (left side / canning line connection).
- Multiple hoses may be joined with a DN40 male/male adapter where needed.
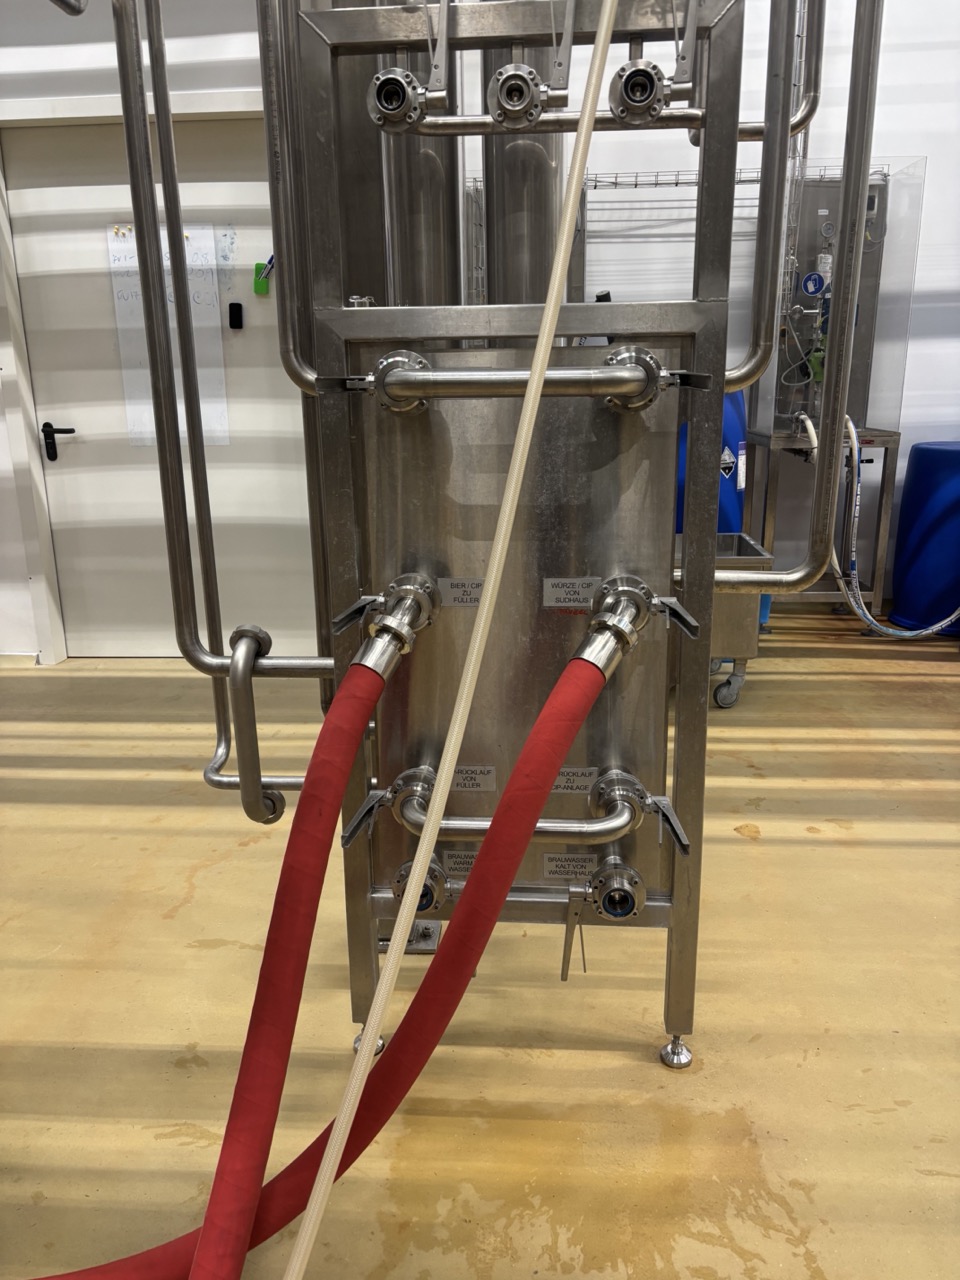
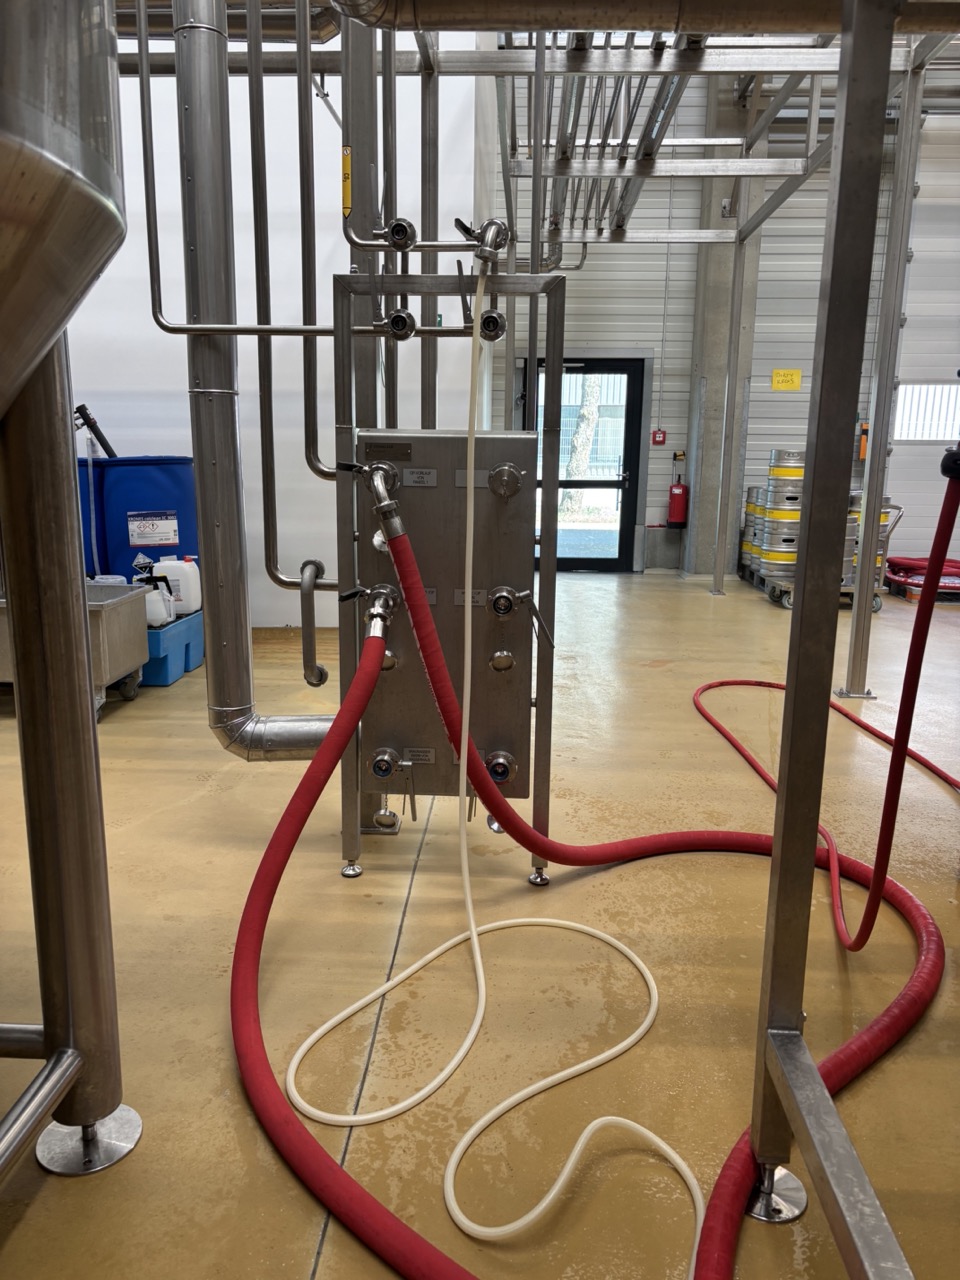
Alternative Setup — First Beer on Panel 1 Side
When the first beer to can is on the Panel 1 (farm tank) side, the CIP routing reverses: CIP vorlauf leaves Panel 1, goes through farm tanks first, then routes through Panel 2 tanks, and returns via a swing bend directly to the canning line.
CIP circuit: Panel 1 CIP vorlauf → Tank 1 → Tank 2 → Panel 1 → Panel 2 → Tank 15 → Tank 14 → Panel 2 return → swing bend → canning line
At Panel 2, vorlauf arrives from Panel 1 (top line), passes through Tank 15 and Tank 14, and returns to the Panel 2 inlet. A swing bend routes this return directly to Panel 1 and on to the canning line.
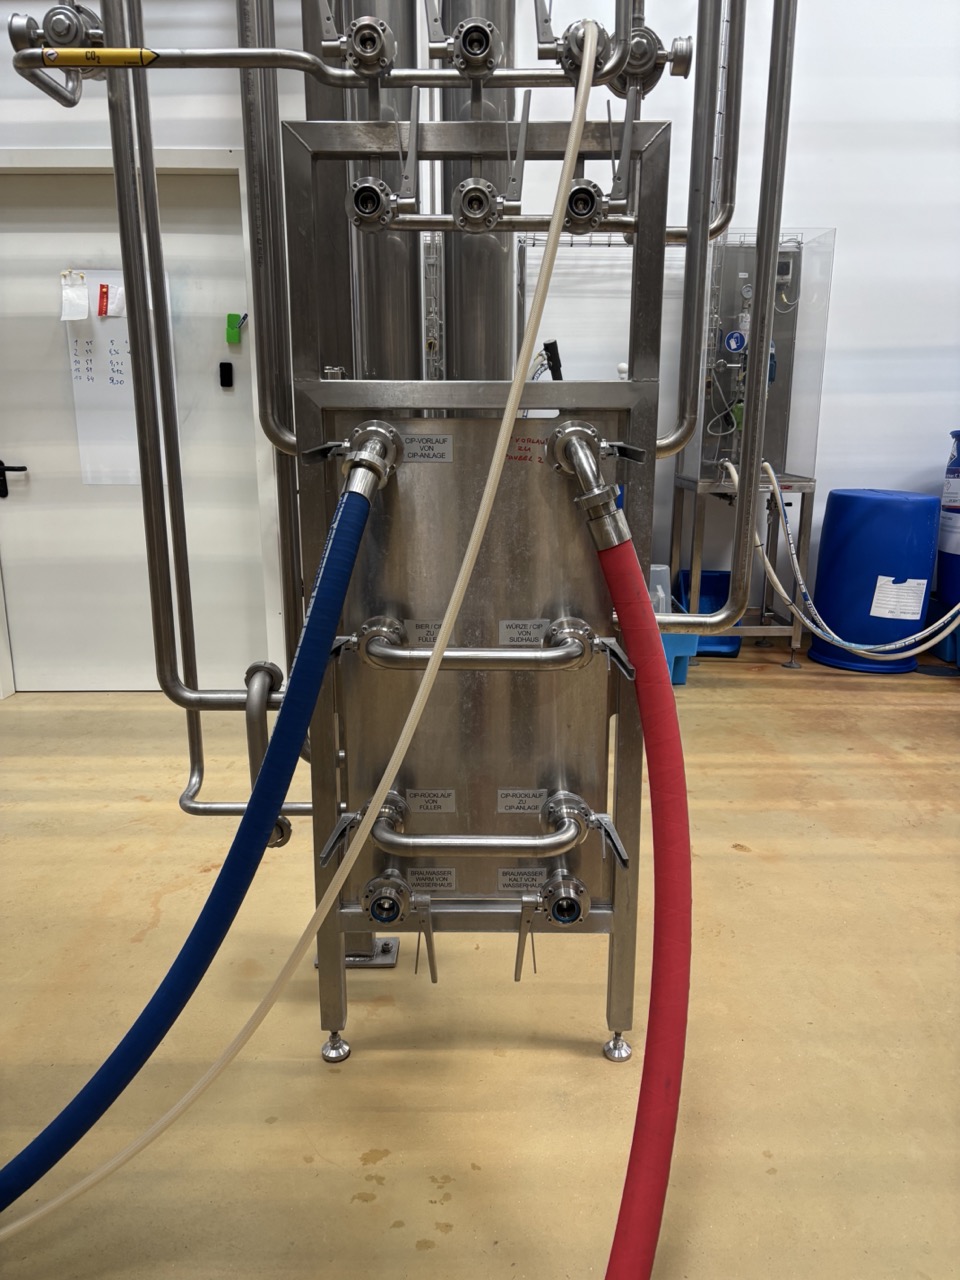
For end-of-week CIP (no tank):
Both panels are connected to each other using swing arms — no beer tank in the circuit.
- Install swing arms on both panels connecting the delivery and return lines directly between the panels.
4. Validate in Botec
Acknowledge all physical line and panel changes in the Botec system before launching.
Warning
The Botec system must validate all cellar line connections before the CIP can proceed. Clear any line alarms before launching.
5. Launch CIP
- Load the canning line CIP recipe in Botec.
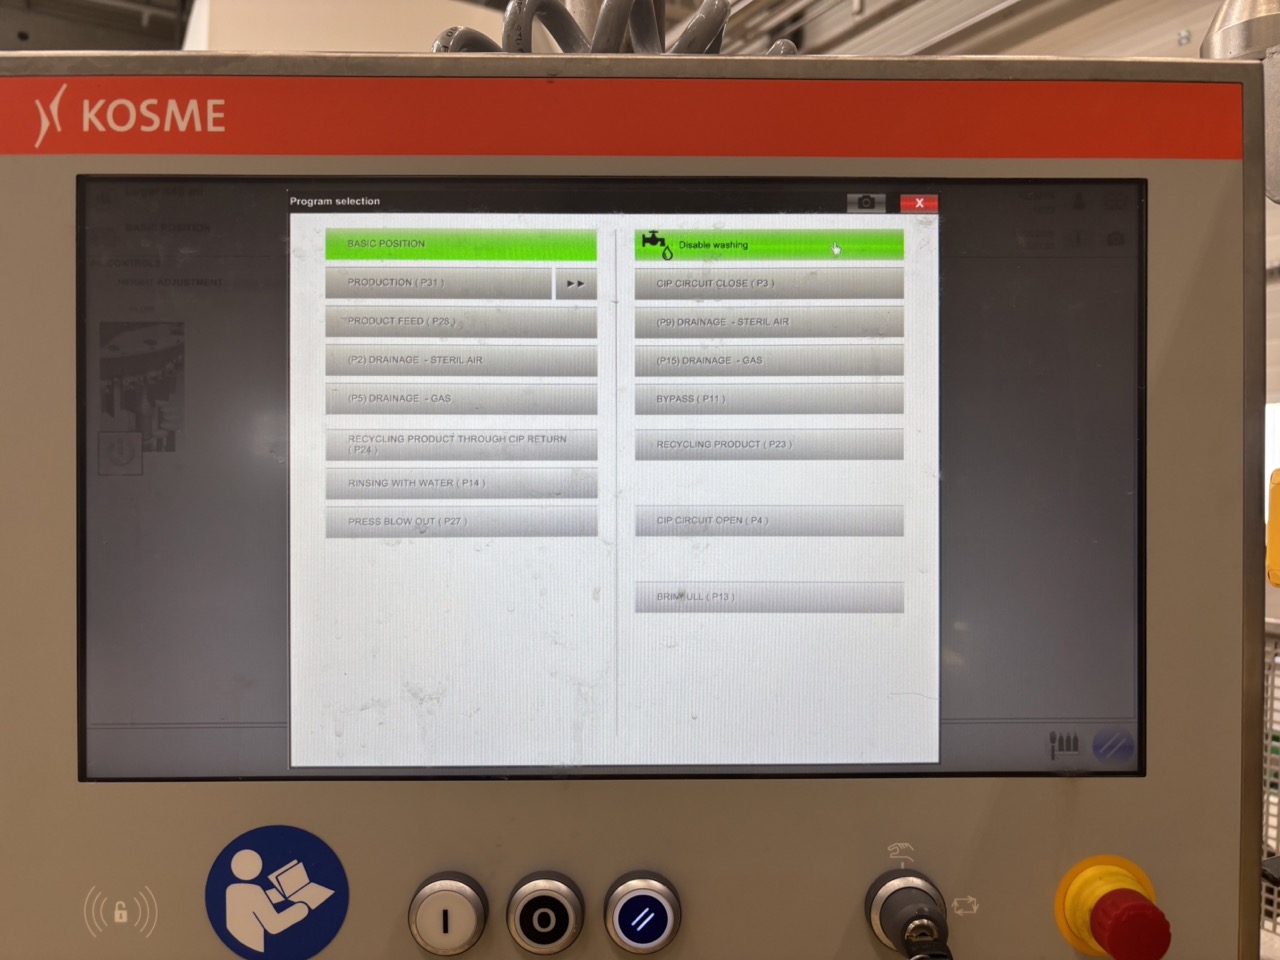
-
Enable washing on the canning line computer — the CIP recipe cannot start until this is activated.
-
Set timing and launch. Allow to run to completion.
- Monitor for alarms throughout.
6. Sanitisation (Before Filling Only)
Sanitisation must run immediately before every filling session — not the night before. Load and launch the sanitisation recipe in Botec after the CIP is complete.
Warning
Do not skip sanitisation or run it the night before and assume it is still effective by the time filling begins.
7. Breakdown
- Remove blank caps from filling heads.
- Remove hoses and return the cellar panel to standard configuration.
- Proceed with the filling setup — refer to the Canning Line Operation SOP.
Checklist
Before CIP
- [ ] CIP Tank 2 up-concentrated and at temperature
- [ ] 12 blank caps fitted to filling heads
- [ ] Blank caps verified in manual mode — all correctly seated
- [ ] Cellar lines connected: T-piece, product hose, return hose — or swing bend for end-of-week
- [ ] All changes acknowledged in Botec, line alarms cleared
CIP
- [ ] CIP recipe loaded and launched
- [ ] CIP completed without alarms
Sanitisation (filling sessions only)
- [ ] Sanitisation recipe launched immediately before filling
- [ ] Sanitisation completed
Breakdown
- [ ] Blank caps removed
- [ ] Hoses removed, cellar panel returned to standard configuration
Troubleshooting
| Issue | Likely Cause | Action |
|---|---|---|
| CIP cannot launch | Line alarms not cleared or changes not acknowledged in Botec | Acknowledge all changes. Clear cellar line alarm before launching. |
| Blank cap falls off during CIP | Cap not correctly seated | Stop CIP. Retrieve cap, inspect for damage. Refit correctly and inspect all other caps before restarting. |
| CIP cannot complete full cycle | Setup error or valve not open | Check Botec alarm log. Investigate setup and re-run if necessary. Do not proceed to filling without a confirmed completed CIP. |