SOP — KeyKeg Filling
FUERST WIACEK Version 1.4 | Packaging — KeyKeg filling | Frequency: per KeyKeg run
Purpose
This SOP covers the filling of KeyKegs from fermentation tanks using the kegger line. The goals are accurate fill weights, minimal oxygen pickup, and consistent product quality through to the customer.
PPE Required
- Safety goggles
- Chemical-resistant gloves
- Ear protection
- Steel-toe boots
Risks
| Hazard | Risk |
|---|---|
| Running pump dry | Pump damage |
| Keg explosion | Over-pressurised or damaged keg — inspect before filling |
| Falling kegs | Stack safely, do not overfill pallets |
| Chemical burns | From baths and sanitisers |
| Oxidation of product | From incorrect line prep or open connections |
| Noise | Wear ear protection throughout |
| Beer waste | From over-foaming, low fills, or broken kegs |
Equipment
- Mobile pump (cellar pump)
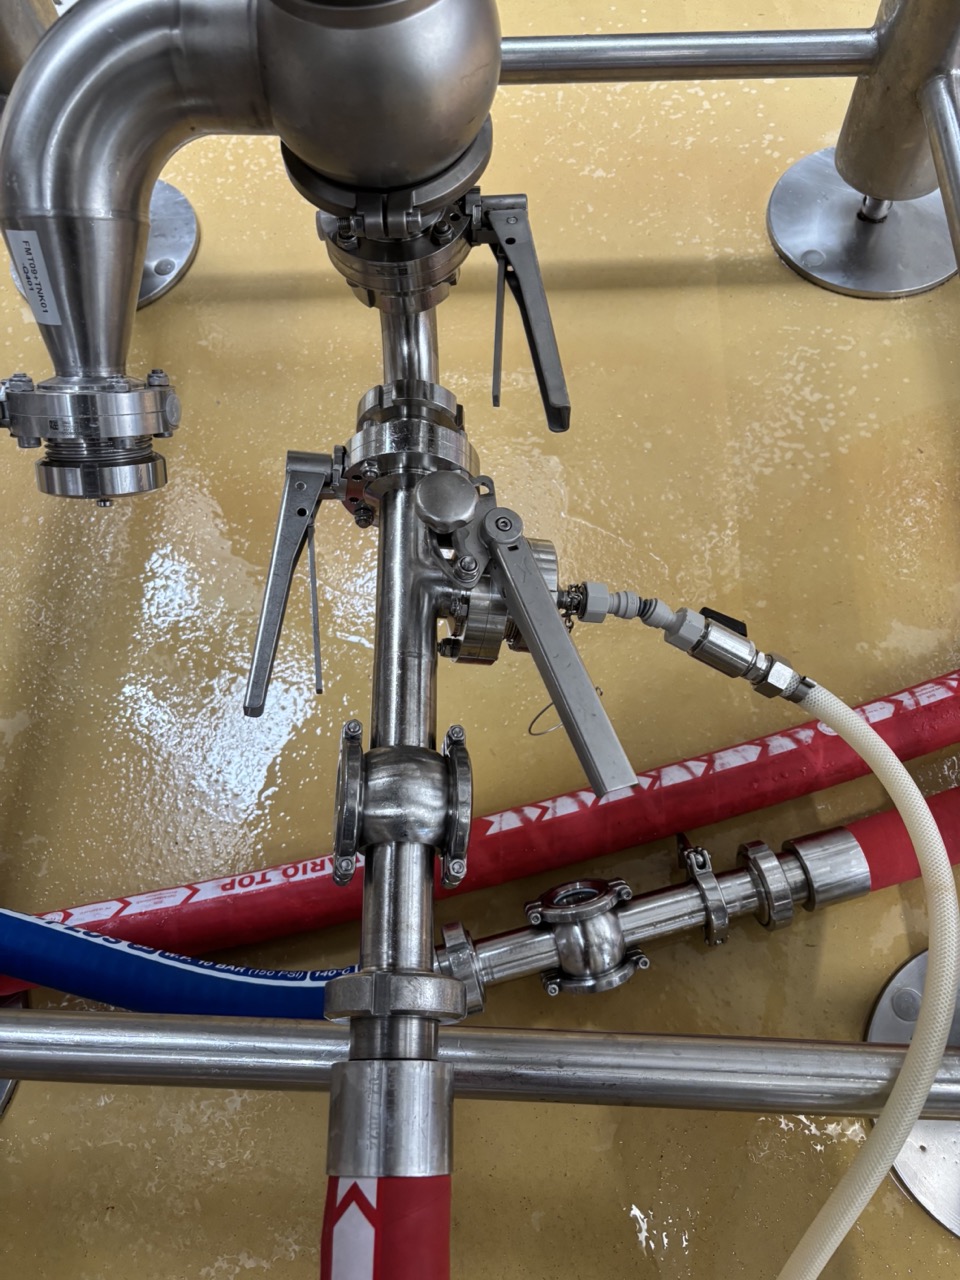
- T-piece on tank racking arm or standing pipe
- DN40 hoses
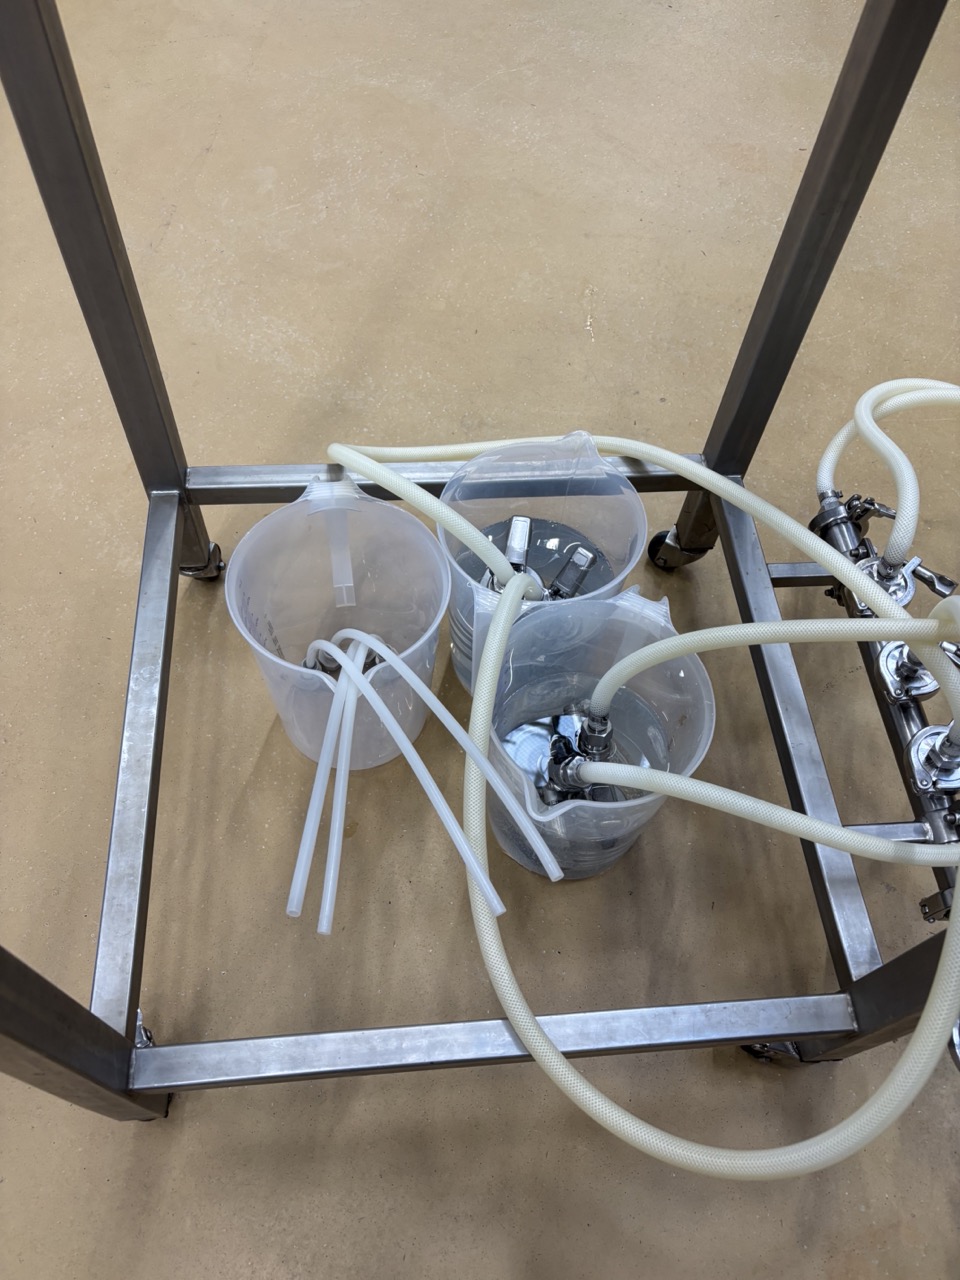
- Filling stand with 4-port filling manifold
- 4 × filling heads (3 × KeyKeg fitting, 1 × Flachfitting connected)
- 1 × sightglass (1.5" TC × DIN DN40 male)
- CO₂ line (clean and purged)
- Labelled KeyKegs (pre-purged by supplier)
- EUR pallets
- Weighing scales
- Pallet wrap or blue straps
- Water hose
- Alcohol spray
- PAA bath (for heads and fittings)
Tank Reference
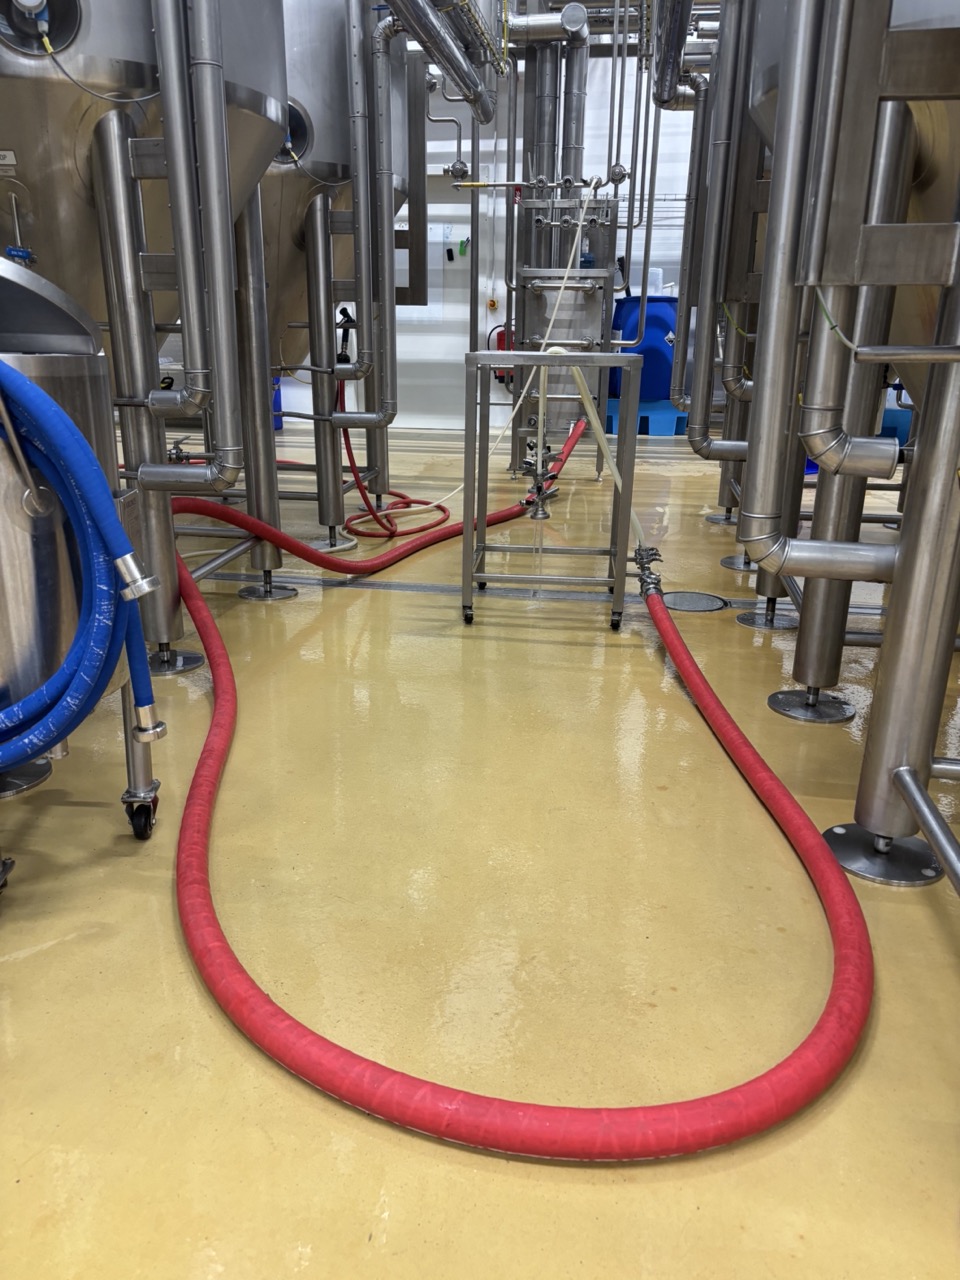
The kegger connects to the racking arm or standing pipe depending on how the tank is fitted.
| Tanks | Connection |
|---|---|
| 1, 2, 3, 5, 6, 7 | Racking arm |
| 9, 10, 11, 13, 14, 15, 17, 18, 19 | Standing pipe |
Pre-Filling Requirements
- Kegger line CIP completed (see Kegger Line CIP SOP)
- Valid CO₂ and O₂ readings for the tank — same-day preferred. Previous day's readings are acceptable if the tank has not been bubbled, roused, or otherwise disturbed since the reading was taken.
- KeyKegs labelled (pre-purged by supplier)
- Packaging sheet open and ready to log
Process
1. Pressurise Tank
Set tank pressure to 1.5–2 bar via the CIP arm. Top up if pressure drops during filling — maintain at least 1.5 bar throughout.
2. CO₂ Purge
- Connect CO₂ to the line inlet at the T-piece.
-
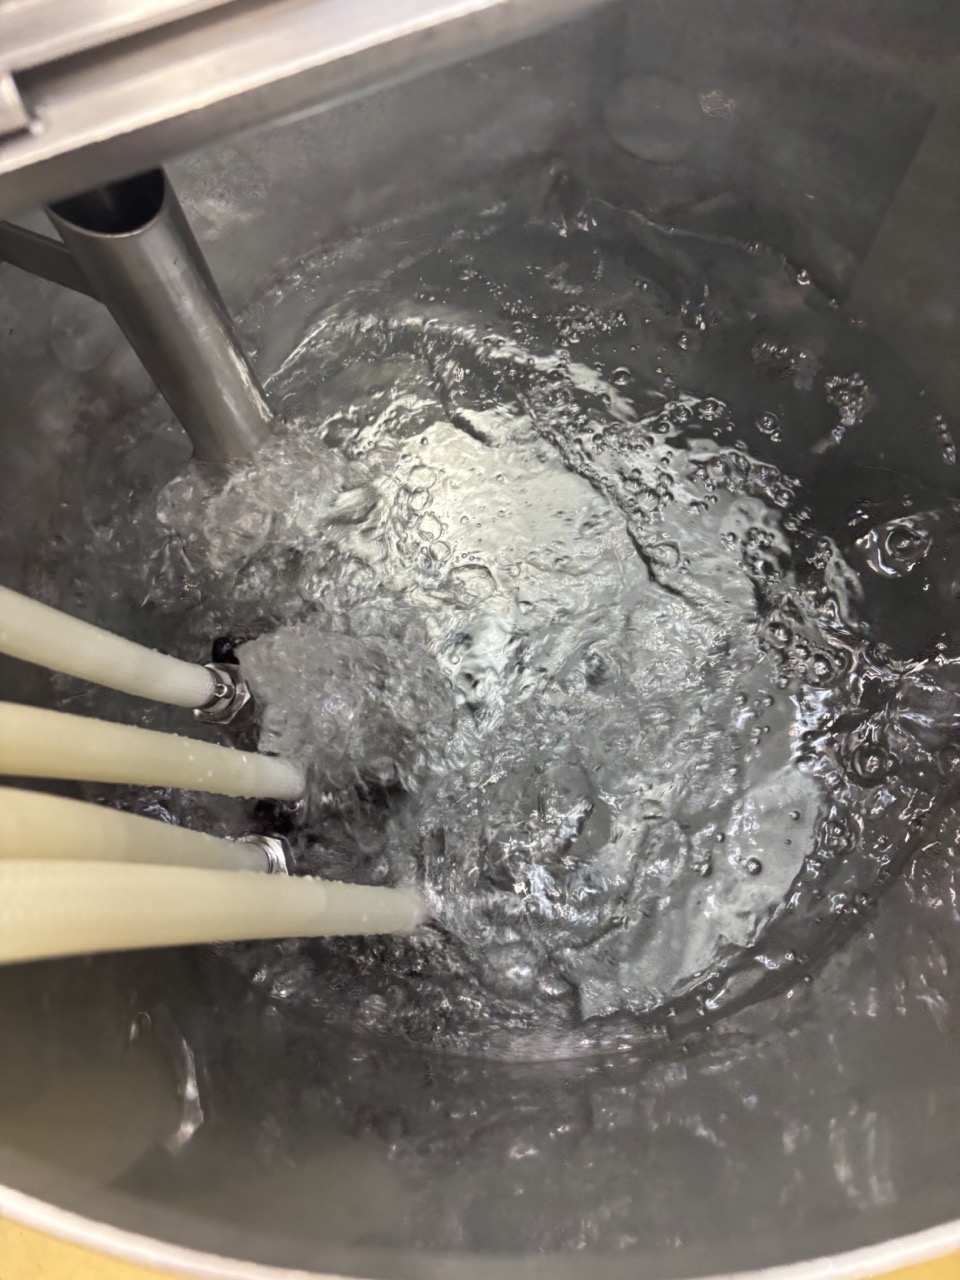
Set the CO₂ flow very slow. Double-check by looking into the dosing tank — you should see gentle bubbling, not vigorous splashing.
-
Open all couplers and purge the line with CO₂ for 15 minutes. This displaces residual PAA from the CIP and purges liquid from the lines. CO₂ should be visibly bubbling out through the open couplers.
-
Close all couplers once the purge is complete.
3. Beer Rinse — Flushing the Line
After the CO₂ purge, the line still contains CO₂ and needs to be flushed with beer before filling begins. This step calms the beer and removes gas from the lines.
- Close all four couplers on the filling manifold.
- Close the CO₂ at the T-piece.
- When ready to send beer, go to the filling stand and open one coupler slightly to bleed off residual CO₂.
- Go to the tank and open the tank valve. Run to the filler to catch the coupler — hold it to avoid beer spraying.
- Flush the coupler until beer runs smooth, then close it.
- Open the next coupler, wait for smooth beer, then close. Repeat for the remaining couplers.
Note
The beer should run calmly and smoothly from each coupler before closing. If it is still foaming aggressively, continue flushing until it settles.
4. Set Up Filling Heads
-
Reassemble the coupler handles — they were removed for CIP. Attach them to the couplers now.
Note
If any couplers or fittings were temporarily removed from the dosing tank, store them in the PAA bath until use.
-
Use 3 filling heads for filling. Place the 4th head in the PAA bath.
- Attach blow-off lines to the gas side of the 3 active filling heads.
Warning
Direct blow-off lines away from other kegs — gas escaping during filling can spray beer and leave kegs sticky for customers.
- Spray each KeyKeg fitting with alcohol before attaching a filling head.
5. Fill KeyKegs
-
Place 3–4 KeyKegs upside down on the filling station. KeyKegs are always filled upside down.
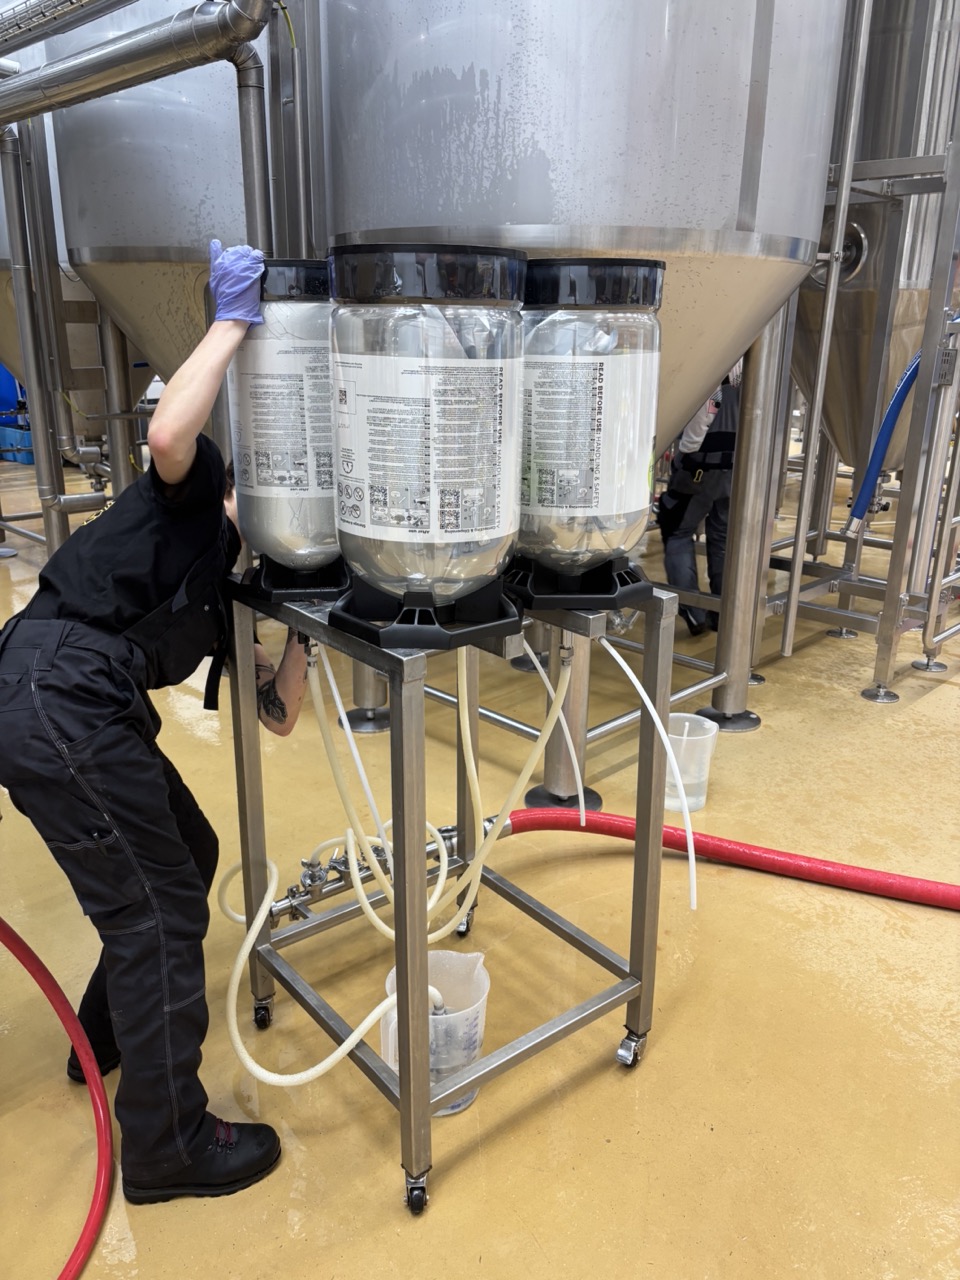
-
Before attaching a filling head to a keg, hold the head upside down and fill the beer line part to the brim with beer. No air pockets allowed — the beer side must be completely full before engaging the keg.
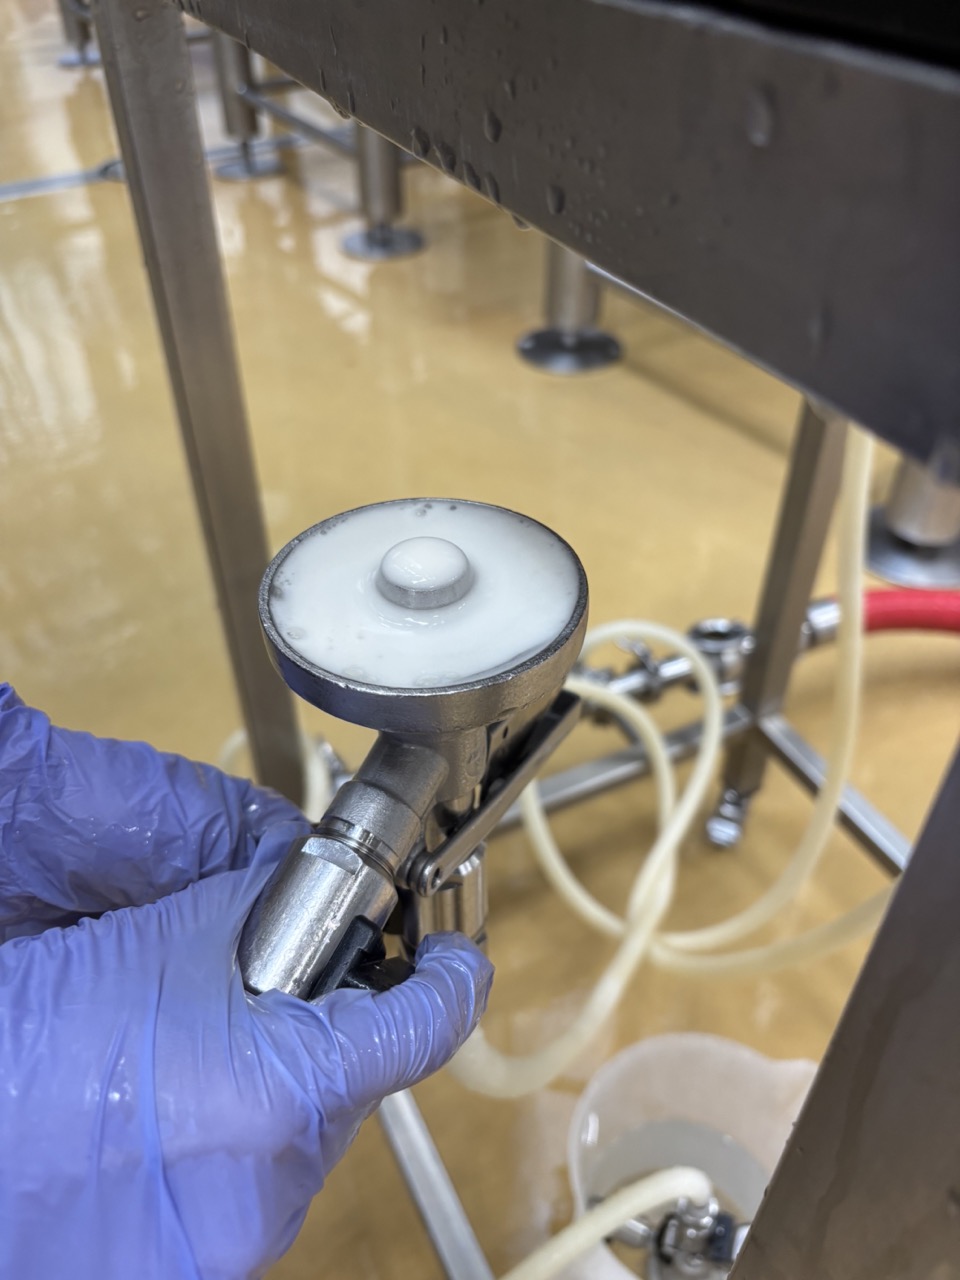 3. Set the gas-out valve to approximately 45° open.
4. Run a small amount of beer through the filling head and allow it to calm down before attaching to a keg.
5. Attach the coupler to the keg and open the beer line valve.
6. Once the keg is full, close the beer line valve.
7. Immediately re-attach the filling head to the next upside-down KeyKeg and open the beer line valve — keep the head moving to minimise oxygen exposure.
3. Set the gas-out valve to approximately 45° open.
4. Run a small amount of beer through the filling head and allow it to calm down before attaching to a keg.
5. Attach the coupler to the keg and open the beer line valve.
6. Once the keg is full, close the beer line valve.
7. Immediately re-attach the filling head to the next upside-down KeyKeg and open the beer line valve — keep the head moving to minimise oxygen exposure.
Warning
If you forgot to open the beer line valve after attaching a head, the keg will have no or low pressure. To recover: close the gas-out valve and open the beer line valve only a tiny amount. Fill very slowly until pressure builds, then open fully. Going too fast at this point causes gas breakout and an underfilled keg that may not be recoverable.
6. Weigh and Check
Weigh each filled keg on the scales. Acceptable tolerance is ±1 kg.
- Kegs more than 1 kg under target: set aside. Can be refilled close to end of run if the bag is not leaking. Mark for local sales — not for export.
- Kegs consistently underfilling: check gas-out flow rate on the filling head (reduce flow to allow beer to fill without gas breakout) and check tank head pressure.
7. Pallet and Store
Stack filled kegs safely on EUR pallets. Secure with pallet wrap or blue straps as needed. Place finished product in the cold room in an organised manner.
8. Monitor for Sedimentation
Watch the sightglass during filling. If sedimentation or solids appear:
- Rinse the line until beer runs clear.
- Check the racking arm height on old tanks (1–7) and raise if needed.
- Any kegs that received sedimentation must be set aside — either dumped or directed to local clients only.
9. End of Run
- If switching to another tank, leave the line under pressure while moving and reconnecting. Only remove pressure when you are about to disconnect and move the lines.
- If taking a break, leave the line under pressure.
-
When filling is fully complete for the day:
- Close the tank valve to stop beer flow.
- Open all filling head valves to relieve pressure. Move the kegger over the drains to minimise mess.
-
Connect the line inlet to the water panel. Rinse slowly through all couplers until water runs clear.
-
Spray down the kegger, lines, couplers, and floor with the water spray gun.
- Break down the line. Follow the standard end-of-use parts storage — all parts into caustic bath, seals into blue container, DN25/DN40 hoses rinsed and stored separately. Next day rinse and transfer to PAA bath.
10. Log in Packaging Sheet
Record the following in the Google Sheets packaging sheet: - Beer / brand - Tank number - CO₂ reading - O₂ reading - Tank temperature - Number of KeyKegs filled per brand
Pre-Run Checklist
- [ ] Kegger line CIP complete
- [ ] Valid CO₂ and O₂ readings confirmed
- [ ] KeyKegs labelled (pre-purged by supplier)
- [ ] Tank pressurised to 1.5–2 bar
- [ ] CO₂ purge complete — slow flow, gentle bubbling in dosing tank confirmed, 15 minutes, all couplers open, closed after
- [ ] Beer rinse complete — all couplers flushed, beer running smooth
- [ ] Coupler handles reassembled
- [ ] 3 filling heads active, 4th in PAA bath
- [ ] Blow-off lines attached and directed away from other kegs
- [ ] KeyKeg fittings sprayed with alcohol before each head attachment
- [ ] Beer line part of filling head filled with beer before each attachment
- [ ] Fill weights checked and within ±1 kg
- [ ] Sedimentation monitored throughout
- [ ] Line rinsed with water at panel, kegger and floor sprayed down
- [ ] All parts in caustic bath (seals separately in blue container)
- [ ] Packaging sheet completed
Troubleshooting
| Issue | Likely Cause | Action |
|---|---|---|
| Keg underfilled — forgot to open beer line valve | Beer line closed when coupler attached | Close gas-out valve. Open beer line a tiny amount and fill very slowly until pressure builds. Then open fully. If gas breakout is too severe the keg may not be recoverable. |
| Keg consistently underfilling | Gas-out flow too high, or tank pressure too low | Reduce gas-out flow on the filling head. Check tank pressure — maintain 1.5–2 bar. |
| Sedimentation in keg | Racking arm too low, or end of tank | Raise racking arm (tanks 1–7). Rinse line until clear. Set aside affected kegs. |
| Keg shows no pressure before filling | Purge failed or production defect | Do not fill. Mark and set aside. Send lot number photo to production@fuerstwiacek.com. |
| Keg ribbon misplaced or bag looks damaged | Production defect | Do not fill. Mark and set aside. Send lot number photo to production@fuerstwiacek.com. |
| Beer foaming aggressively during line flush | CO₂ still in line | Continue flushing until beer settles. Do not begin filling until all couplers run smooth. |
| Blow-off line spraying beer on other kegs | Line directed incorrectly | Redirect blow-off line away from kegs before continuing. Wipe down any affected kegs. |