SOP — Steel Keg Filling
FUERST WIACEK Version 1.1 | Packaging — steel keg filling | Frequency: per steel keg run
Purpose
This SOP covers filling steel kegs from fermentation tanks using the kegger line. Preparation and CIP are the same as for KeyKeg filling. The filling method differs: steel kegs are filled on the floor, with gas management handled manually to avoid foaming.
Pre-Filling Requirements
- Kegger line CIP completed (see Kegger Line CIP SOP)
- CO₂ purge and beer rinse complete (same procedure as KeyKeg Filling SOP steps 1–3)
- Valid CO₂ and O₂ readings for the tank
- Packaging sheet open and ready to log
Process
1. Prepare for Filling
Follow the KeyKeg Filling SOP steps 1–3:
- Pressurise tank to 1.5–2 bar
- CO₂ purge (15 minutes, gentle flow, check bubbling in dosing tank — see KeyKeg Filling SOP step 2 for images)
- Beer rinse — flush all couplers until beer runs smooth
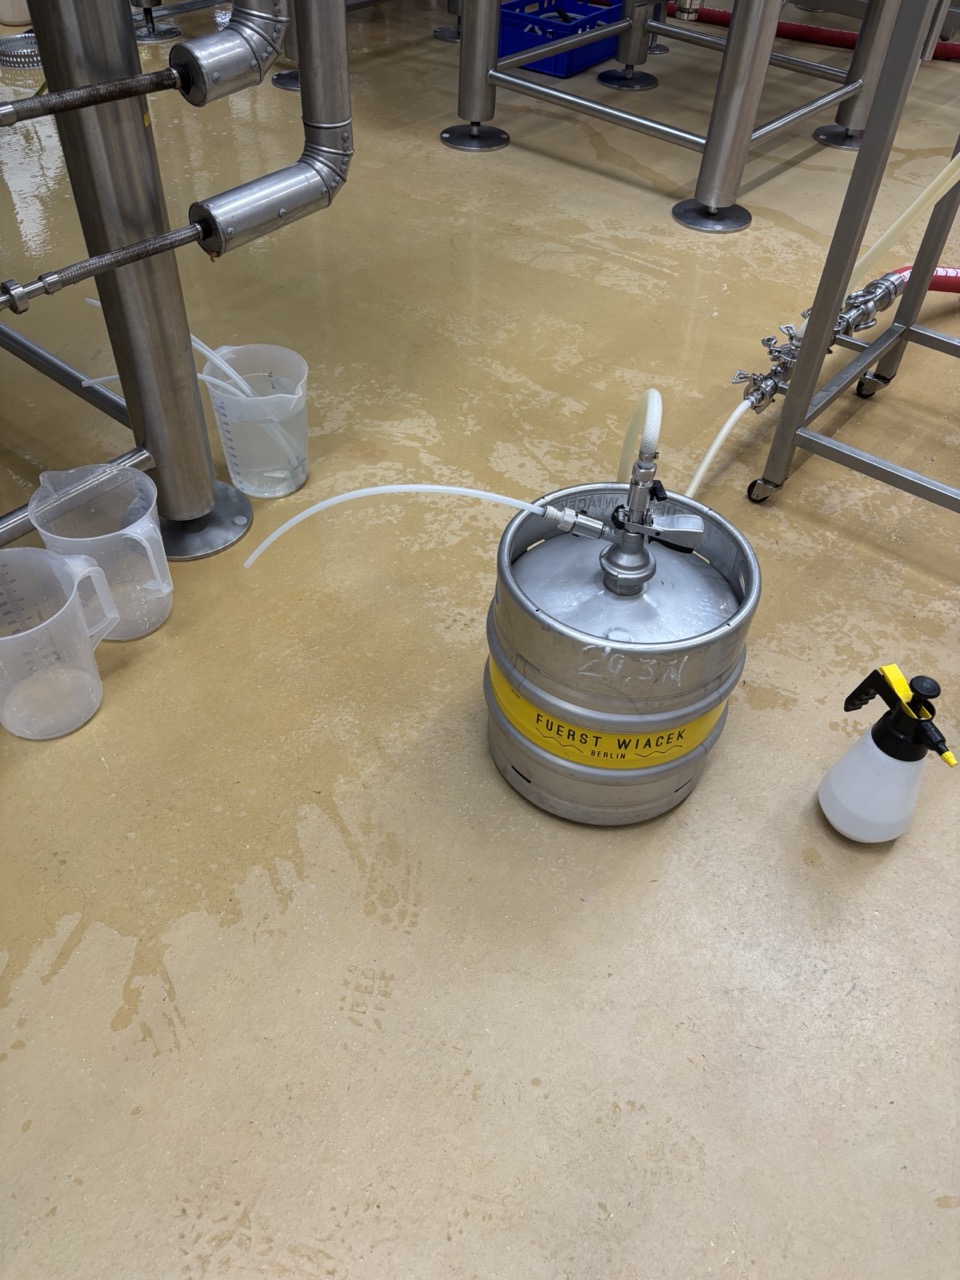
2. Connect First Keg
One coupler is typically a Flachfitting connection for steel kegs.
- Place the steel keg on the floor next to the filling line.
- Keep the gas-out valve closed.
- Connect the coupler to the keg.
3. Fill the Keg
- Open the beer line valve. With gas closed, beer flows in and begins building pressure in the keg.
- Once some pressure has built, open the gas-out valve slightly — just enough to allow the keg to fill fully without foaming.
-
The keg is full when foam appears at the gas-out line. This is the indicator — do not rely on time alone.
-
Close the gas-out valve, then close the beer line valve.
Note
If unsure whether the keg is full, check the weight. Target weight is the keg tare plus the expected fill volume.
4. Move to Next Keg
- Disconnect the coupler from the filled keg.
- Rinse the filled keg externally with the water spray gun.
- Move it to the pallet.
- Connect the coupler to the next keg and repeat from step 3.
5. Weigh and Pallet
Weigh each filled keg. Acceptable tolerance is ±1 kg. Stack on EUR pallets and secure as needed.
6. End of Run
Rinse the line with water at the panel and spray down the kegger and floor. Then follow the standard end-of-use parts storage — all parts into caustic bath, seals into blue container, hoses rinsed separately. Next day rinse and transfer to PAA bath.
7. Log in Packaging Sheet
Record in the packaging sheet:
- Beer / brand
- Tank number
- CO₂ reading
- O₂ reading
- Tank temperature
- Number of steel kegs filled
Checklist
- [ ] Kegger line CIP complete
- [ ] Valid CO₂ and O₂ readings confirmed
- [ ] Tank pressurised to 1.5–2 bar
- [ ] CO₂ purge complete — slow flow, gentle bubbling in dosing tank, 15 minutes
- [ ] Beer rinse complete — all couplers flushed, beer running smooth
- [ ] Each keg filled on the floor — gas closed initially, opened slightly once pressure builds
- [ ] Full indicator: foam at gas-out line
- [ ] Fill weights checked ±1 kg
- [ ] Line rinsed at end of run, all parts in caustic bath (seals in blue container)
- [ ] Packaging sheet completed