SOP — Kegger Line CIP
FUERST WIACEK Version 1.5 | Packaging — kegger line | Frequency: before every keg filling run
Purpose
The kegger line must be CIPed before every filling run. The CIP is fully manual using the mobile pump and mobile dosing tank. The sequence is caustic → water rinse → acid → water rinse → PAA, leaving the line sanitised and held in PAA. The CO₂ purge and beer rinse that follow are part of the filling procedure.
PPE Required
Warning
Do not handle chemicals without full PPE.
- Safety goggles
- Chemical-resistant gloves
- Ear protection
- Steel-toe boots
Risks
| Hazard | Risk |
|---|---|
| Chemical exposure | Burns, eye damage / blinding |
| Running pump dry | Pump damage — never run the pump without liquid |
| Incorrect chemical sequence | Ineffective clean or chemical reaction between residuals |
| High pressure connections | Spray of liquid if fittings not secure |
Equipment
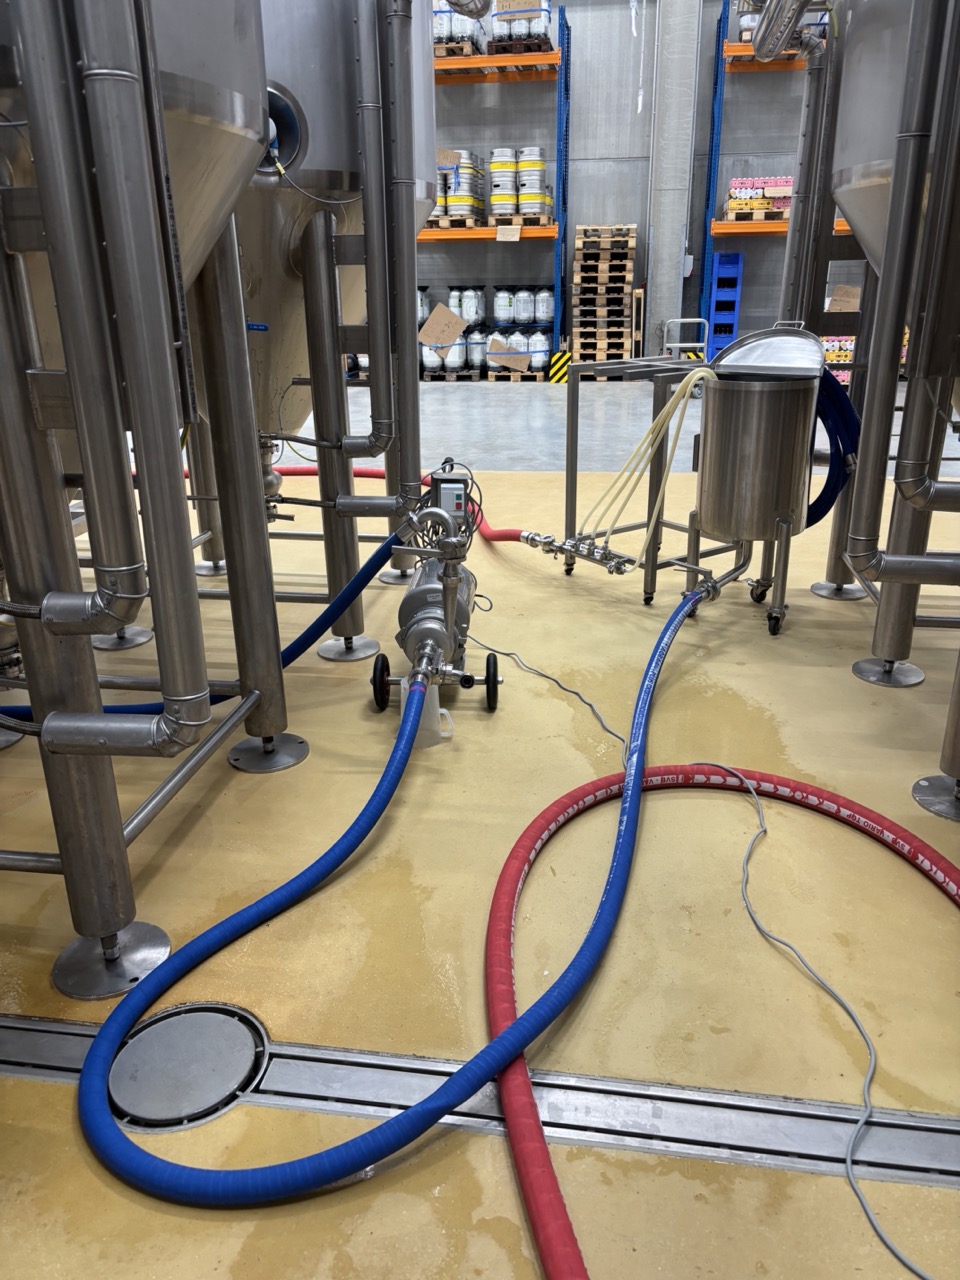
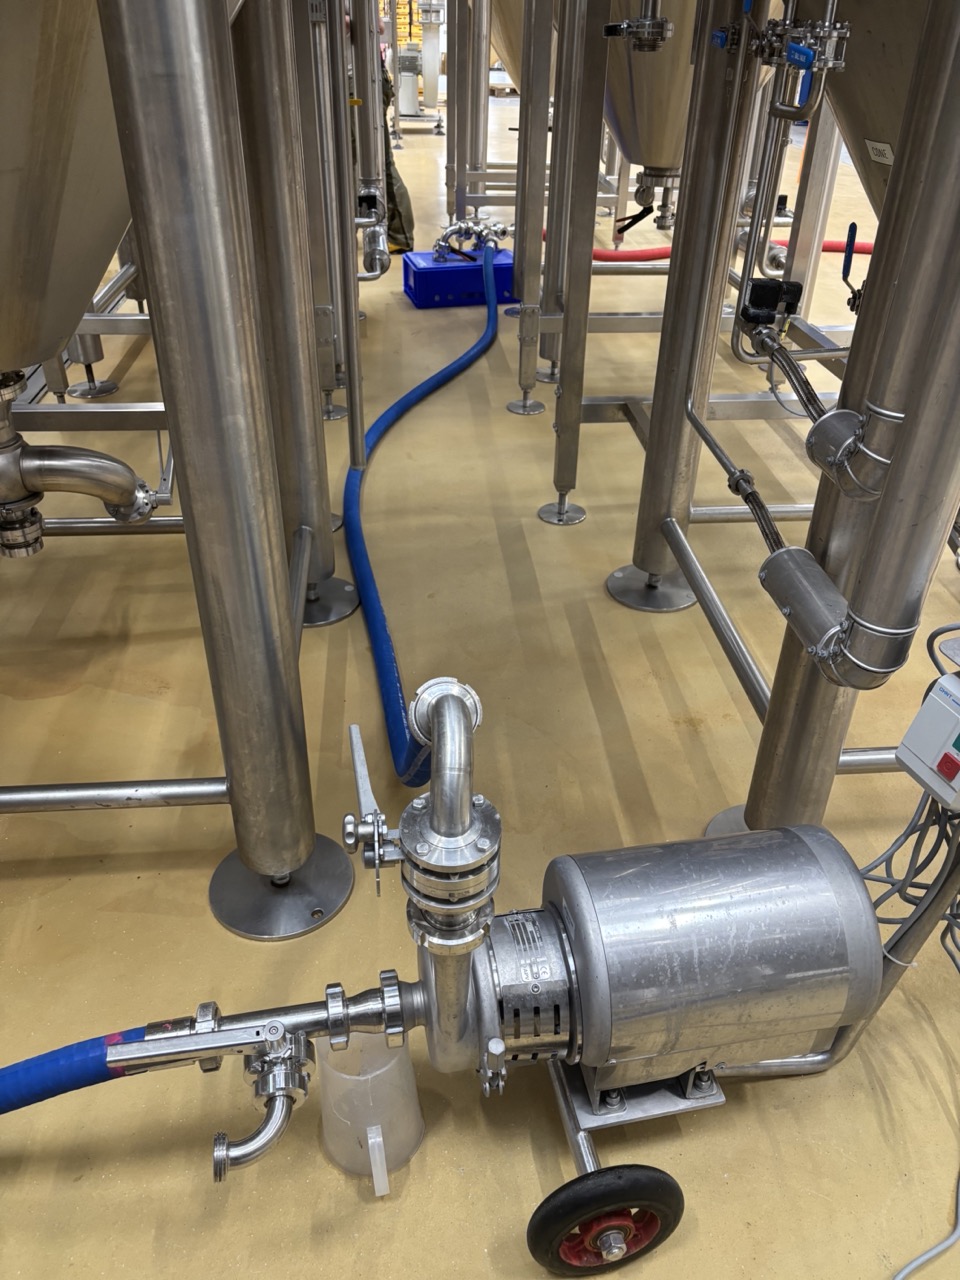
- Mobile pump (cellar pump)
- Mobile dosing tank (~80 L capacity)
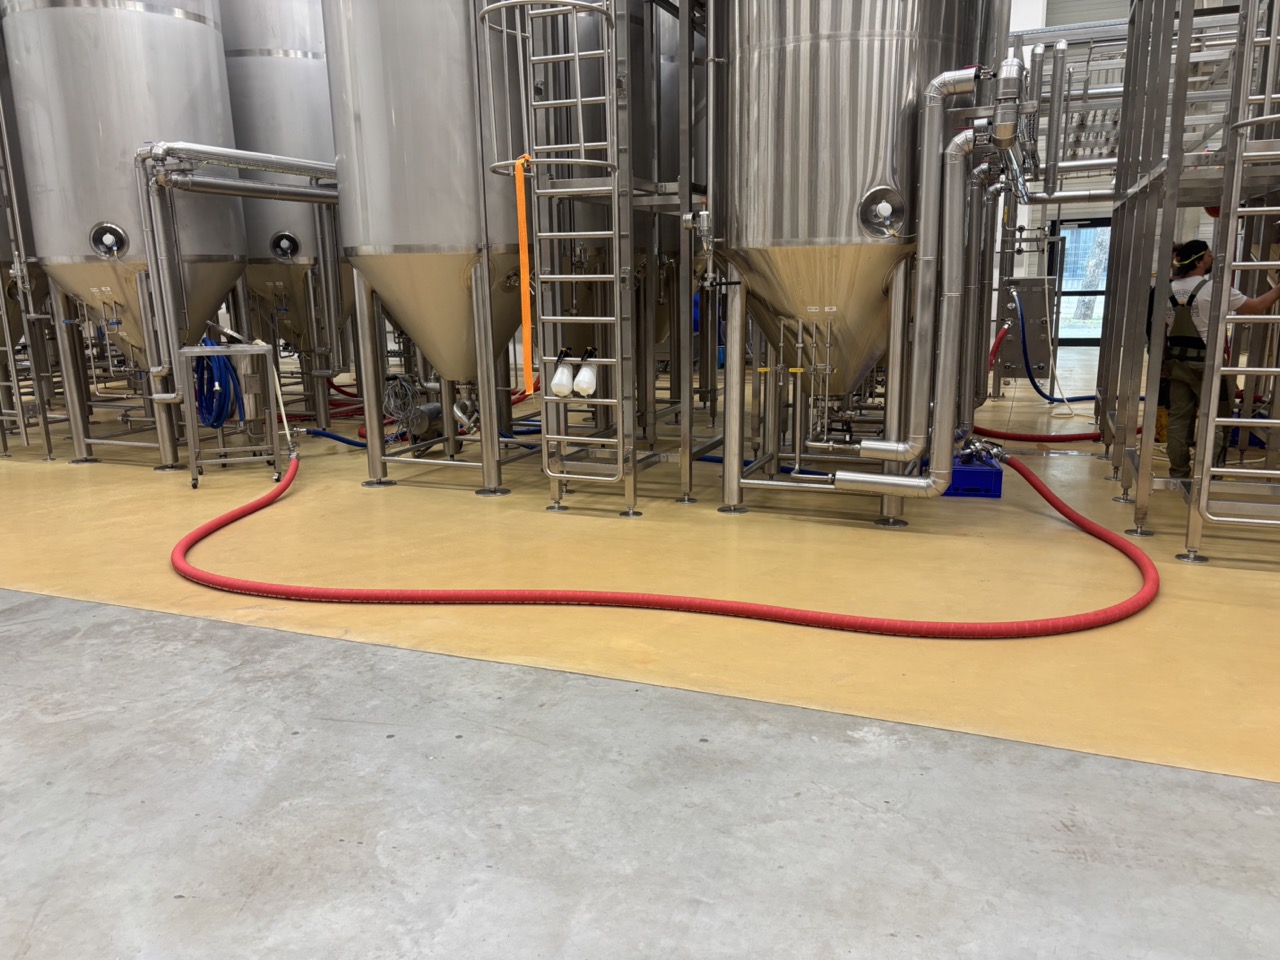
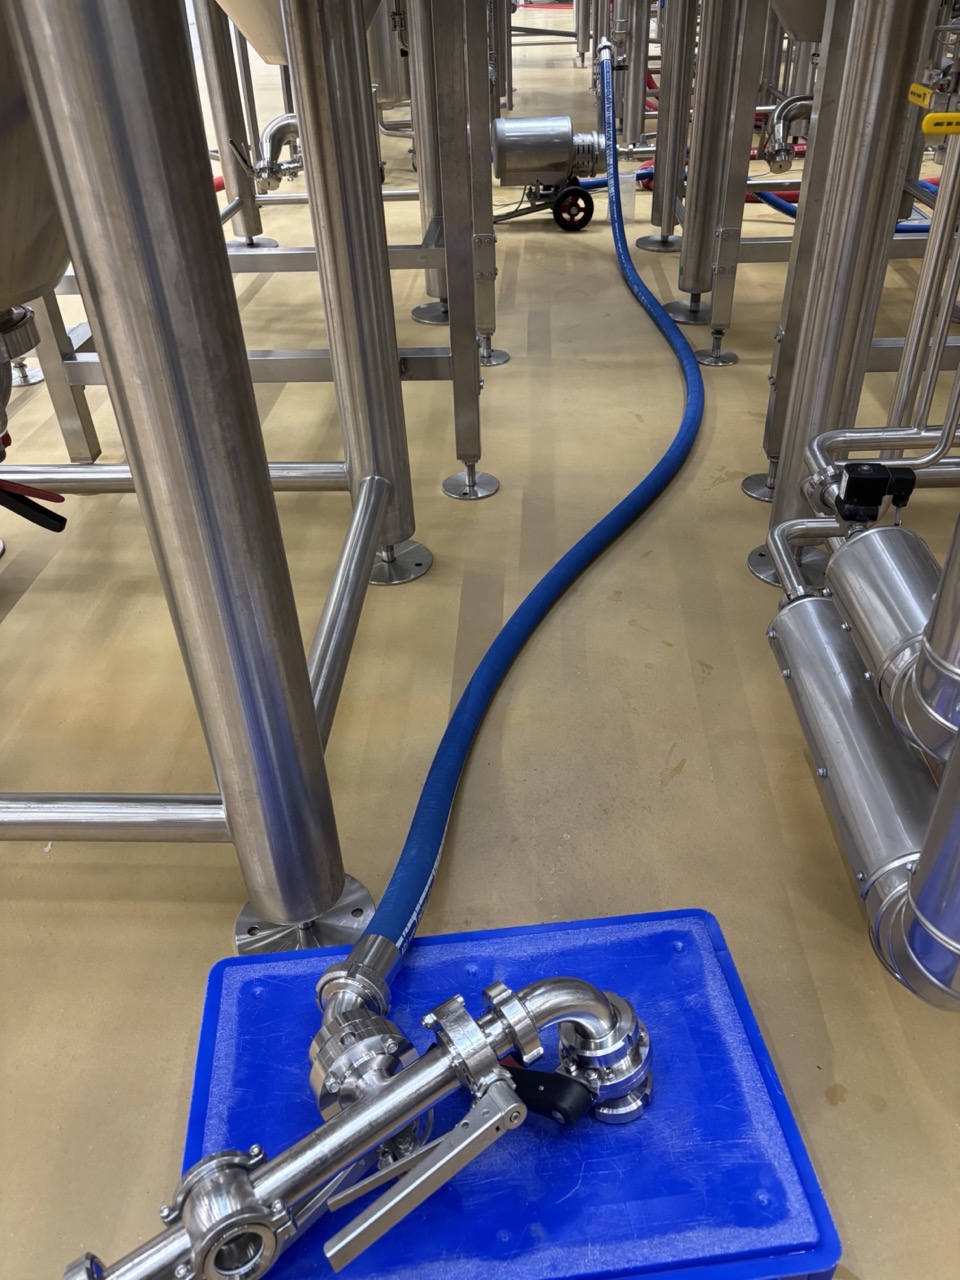
- DN40 hoses for line connections (~10 m from T-piece to kegger)
- T-piece
- Sightglass (installed between 10 m line and kegger)
- Filling manifold with 4-port filling heads
- 4 × valves (one per coupler line, between filling line and coupler)
- Caustic (IC 1002) — 2.5 L per CIP
- Acid (IC 3002) — 1.25 L per CIP
- PAA (DI 1011) — 0.2 L per CIP
- Caustic and PAA baths (for soaking fittings and heads after filling)
- Alcohol spray
- Water hose
Chemical Dosing Reference
| Step | Chemical | Amount | Water | Temp | Time |
|---|---|---|---|---|---|
| Caustic | IC 1002 | 2.5 L | 80 L | Cold | 20 min |
| Acid | IC 3002 | 1.25 L | 80 L | Cold | 20 min |
| PAA | DI 1011 | 0.2 L | 80 L | Cold | 20 min |
CIP Sequence
Caustic → Water rinse → Acid → Water rinse → PAA → [CO₂ purge + beer rinse at filling]
Loop topology: the couplers hang inside the closed dosing tank at all times. The CIP circuit runs: dosing tank → pump → T-piece side connection → T-piece front connection → 10 m line → sightglass → kegger → coupler valves → couplers → back into dosing tank.
Filling water: water is not poured into the dosing tank by hand. Instead, the pump inlet hose is disconnected from the dosing tank and connected to the water panel. Water then flows through the pump, line, T-piece, and couplers and collects in the dosing tank. Once enough water has collected, disconnect from the panel and reconnect the hose to the dosing tank outlet — the loop is restored and chemical can be added.
Water rinse: same principle but the dosing tank lid is open. Water flows in through the couplers and the spray gun can be used to rinse the inside walls and couplers directly, as most surfaces won't be submerged during the rinse.
Process
1. Assemble Line
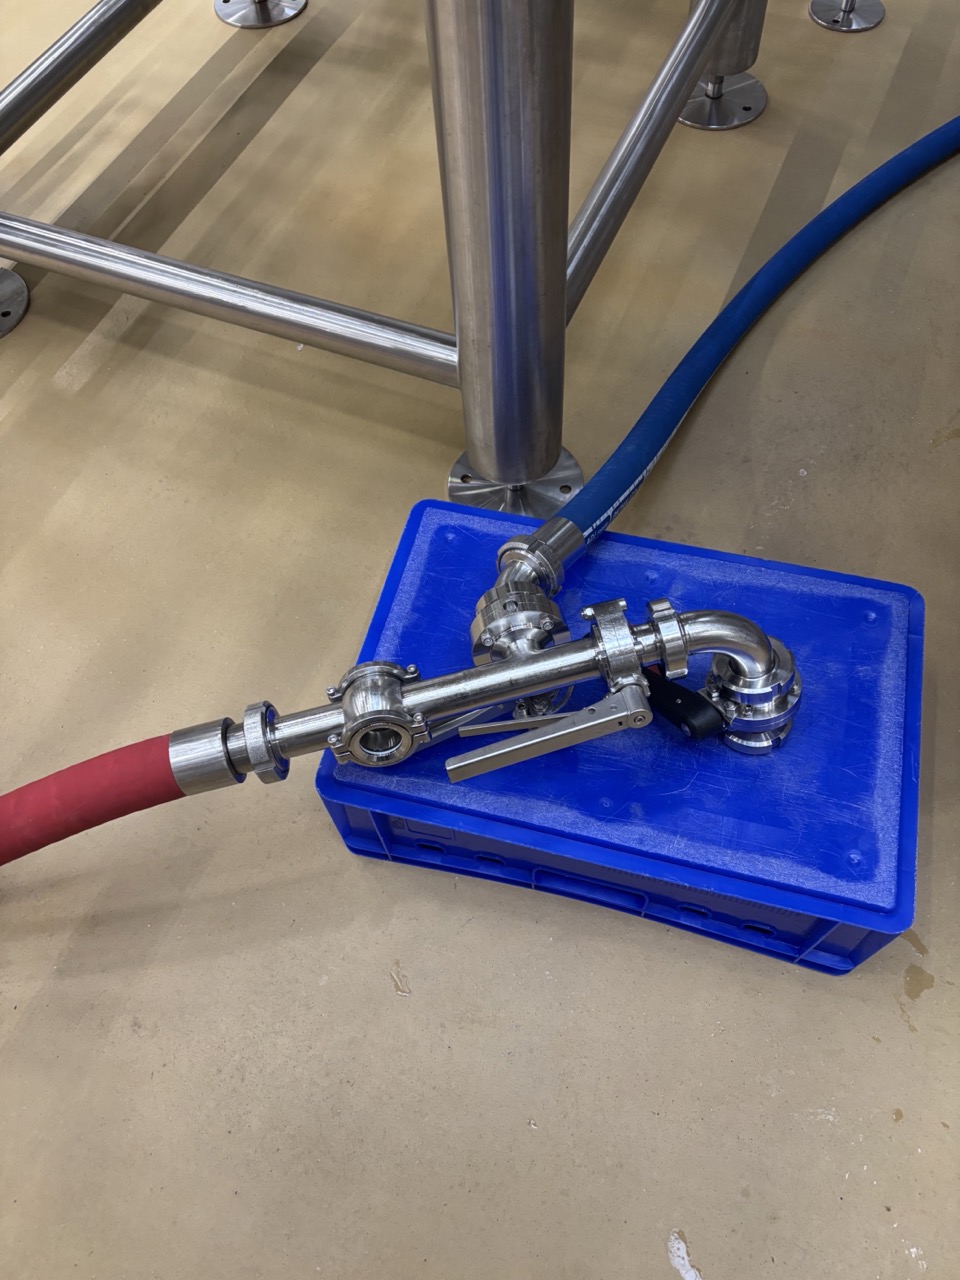
The T-piece is not connected to the tank during CIP — the canning line CIP uses that connection. Instead, place the T-piece on a blue box in the kegging area (in front of Panel 1).
Elbow selection — match to tank type:
| Tank type | Elbow |
|---|---|
| Racking arm (tanks 1, 2, 3, 5, 6, 7) | 45° |
| Standing pipe (tanks 9–19) | 90° |
The T-piece has two working connections:
- Side connection — pump outlet during CIP; tank (racking arm or standing pipe) during filling
-
Front connection — ~10 m line to the kegger (sightglass installed before the kegger)
-
Place the T-piece on the blue box.
-
Connect the front connection of the T-piece to the ~10 m line. Install the sightglass, then connect through to the filling manifold.
-
Connect the pump outlet to the side connection of the T-piece.
-
On the side connection: fit the correct elbow (45° or 90°), then close it off with an extra valve. This seals the end so the elbow is fully CIPed. When filling starts, the extra valve is removed and the tank connects directly to the elbow.
-
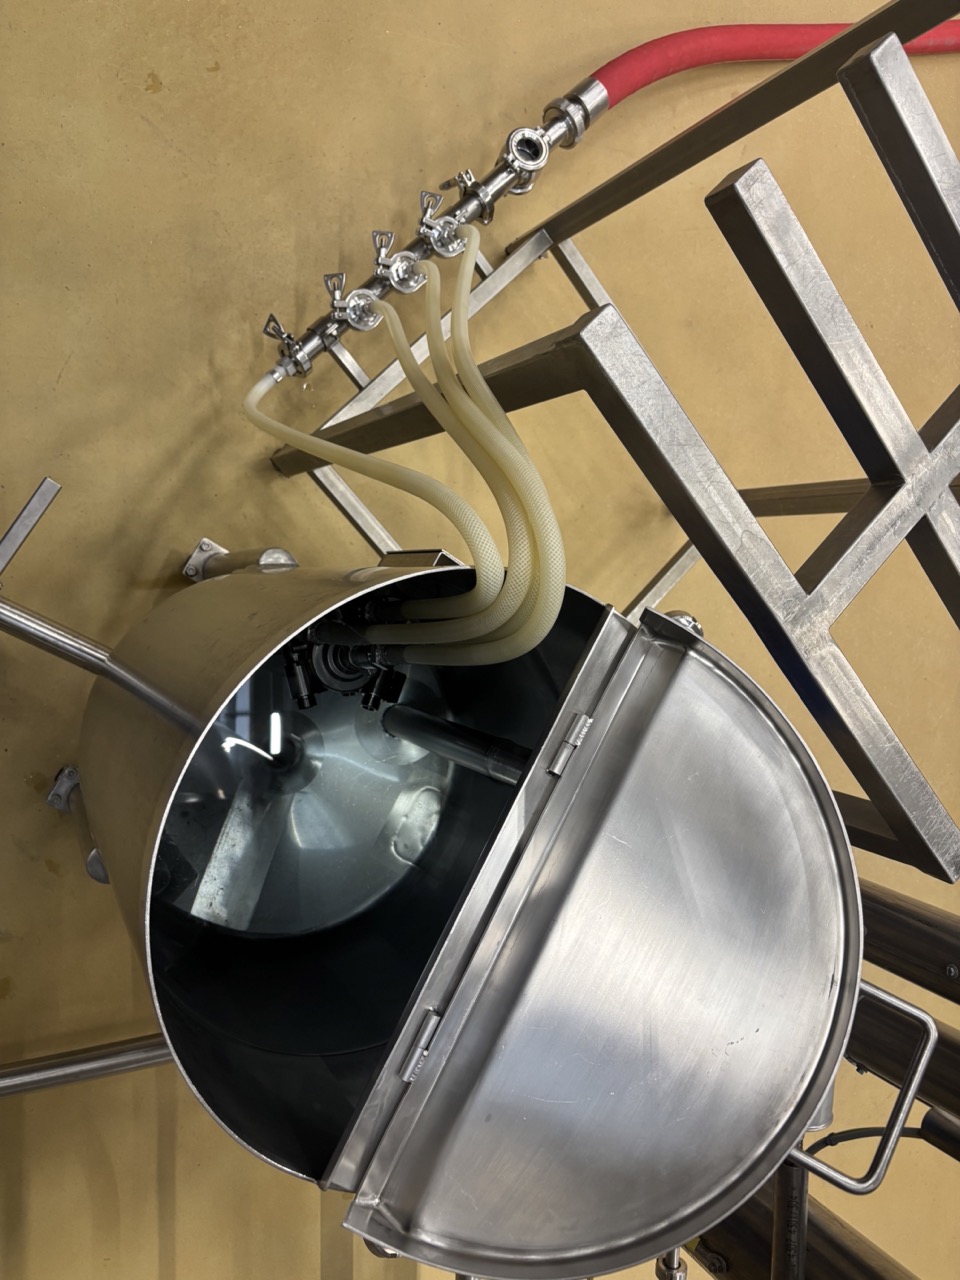
Install a valve on each of the 4 coupler lines, between the filling line and the coupler.
- Disassemble the coupler handles and set them aside. The handles are not stainless steel and cannot be in the chemical bath. Reassemble handles just before filling begins.
-
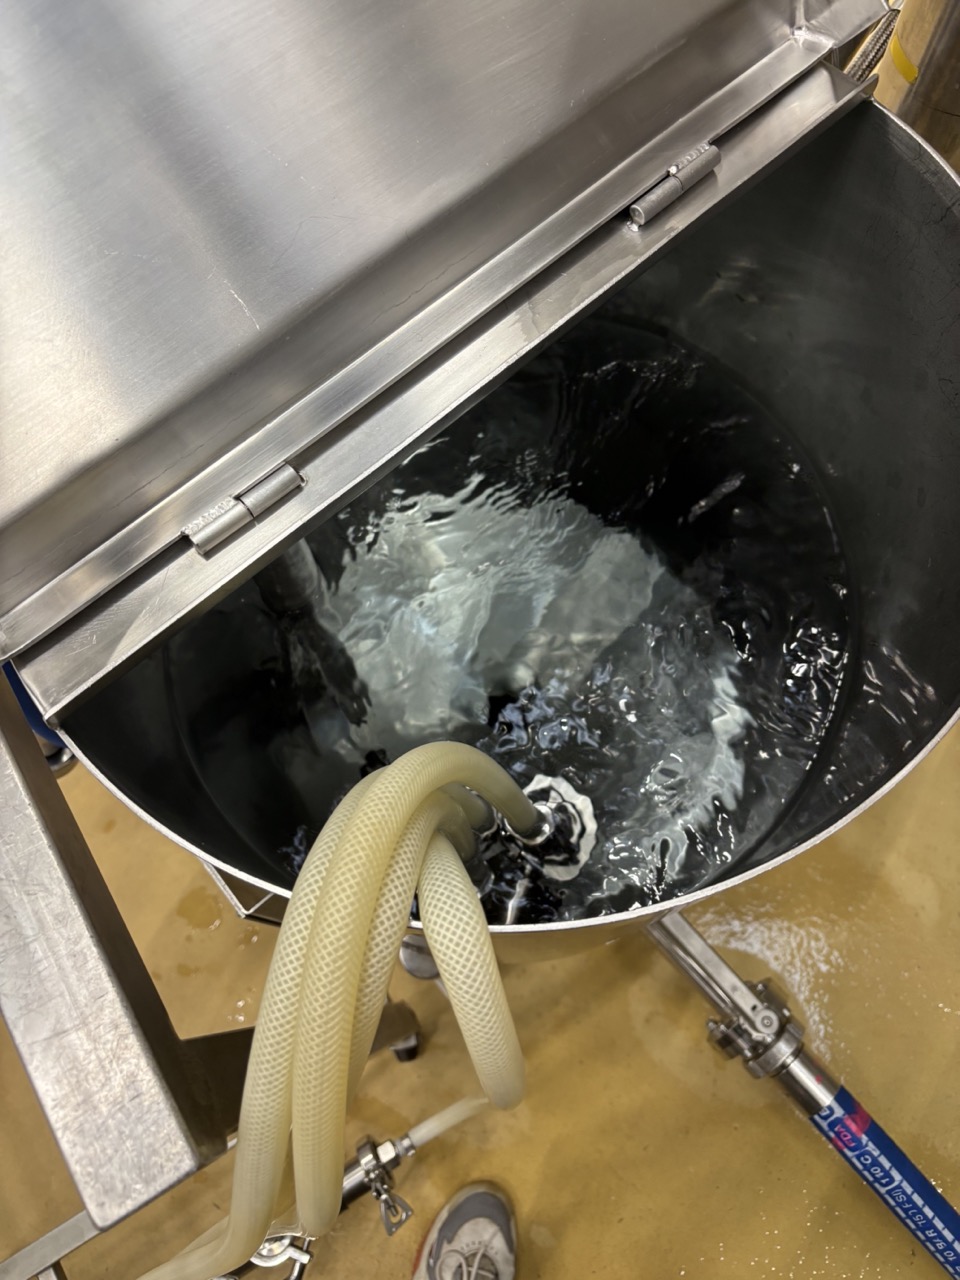
Hang the couplers (handles removed) inside the dosing tank — they form the return path of the CIP loop.
-
Ensure all connections are fitted securely.
2. Fill Water and Add Caustic
- Disconnect the pump inlet hose from the dosing tank outlet and connect it to the water panel.
- Close the dosing tank lid.
- Water flows: water panel → pump → line → T-piece → couplers → into dosing tank. Run until ~80 L has collected.
- Disconnect from the water panel. Reconnect the pump inlet hose to the dosing tank outlet — the loop is now closed.
- Add 2.5 L of caustic (IC 1002) to the dosing tank.
3. Caustic Recirculation — 20 Minutes
- Start the pump. Confirm flow is moving through the full line.
Warning
Never start the pump without confirming the inlet line is flooded with liquid. Running dry damages the pump.
- Circulate for 20 minutes.
- After 20 minutes, drain caustic from the line.
4. Water Rinse
- Disconnect the pump inlet hose from the dosing tank outlet and connect it to the water panel.
- Open the dosing tank lid.
- Water flows through the system and into the open dosing tank. Use the spray gun to rinse the inside walls and couplers — most surfaces won't be submerged during the rinse.
- When clean, disconnect from the water panel and reconnect to the dosing tank outlet.
- Circulate briefly through the closed loop, then drain fully.
- Check conductivity at the outlet — target neutral before proceeding to acid.
5. Fill Water and Add Acid
- Disconnect pump inlet hose from dosing tank and connect to the water panel. Close lid. Fill to ~80 L.
- Disconnect from water panel, reconnect to dosing tank outlet.
- Add 1.25 L of acid (IC 3002).
6. Acid Recirculation — 20 Minutes
- Start the pump. Circulate for 20 minutes.
- Drain acid from the line after 20 minutes.
7. Water Rinse
Repeat step 4. Check conductivity — target neutral before proceeding to PAA.
8. Fill Water and Add PAA
- Disconnect pump inlet hose from dosing tank and connect to the water panel. Close lid. Fill to ~80 L.
- Disconnect from water panel, reconnect to dosing tank outlet.
- Add 0.2 L of PAA (DI 1011).
9. PAA Recirculation — 20 Minutes
- Start the pump. Circulate for 20 minutes.
- Leave PAA in the line — do not drain. The line is sanitised and held in PAA until filling.
Note
The CO₂ purge and beer rinse that displace the PAA are the first steps of the KeyKeg Filling SOP.
Note
After CIP: dip any spare elbows into PAA to keep them clean until needed. When the tank is ready to fill, remove the extra valve from the T-piece and connect the tank (racking arm or standing pipe) directly to the elbow.
Pre-Run Checklist
- [ ] PPE on
- [ ] T-piece on blue box — correct elbow fitted on side connection (45° racking arm / 90° standing pipe), extra valve closing elbow end
- [ ] Front connection: 10 m line → sightglass → kegger assembled
- [ ] Pump outlet connected to T-piece side connection
- [ ] Valve installed on each of the 4 coupler lines
- [ ] Coupler handles disassembled and set aside
- [ ] Couplers (handles removed) hanging inside dosing tank
- [ ] Water filled via panel (lid closed) → caustic added (2.5 L IC 1002) → recirculated 20 min → drained
- [ ] Water rinse: lid open, spray gun on walls and couplers, recirculate, drain — conductivity neutral
- [ ] Water filled via panel → acid added (1.25 L IC 3002) → recirculated 20 min → drained
- [ ] Water rinse: lid open, spray gun on walls and couplers, recirculate, drain — conductivity neutral
- [ ] Water filled via panel → PAA added (0.2 L DI 1011) → recirculated 20 min → left in line
- [ ] Spare elbows dipped in PAA
- [ ] Line held in PAA, ready for CO₂ purge at filling
Troubleshooting
| Issue | Likely Cause | Action |
|---|---|---|
| Pump running dry / cavitating | Dosing tank empty or inlet not flooded | Stop pump immediately. Refill tank and re-prime before restarting. |
| Low or no flow through line | Blocked fitting, closed coupler, or pump not primed | Check all couplers and fittings are open. Re-prime pump by loosening the delivery side slightly with pump off to bleed air, then retighten before restarting. |
| Outlet not neutral after water rinse | Insufficient flush volume | Continue flushing. Do not proceed to the next chemical until the outlet reads < 0.5 mS. |
| PAA smell absent after PAA step | Concentration too low or contact time too short | Drain and repeat PAA with a fresh 0.2 L dose. |